With Easypage you can create landing pages for your product. Take a look on how Easypage works:
Creating a Landing Page
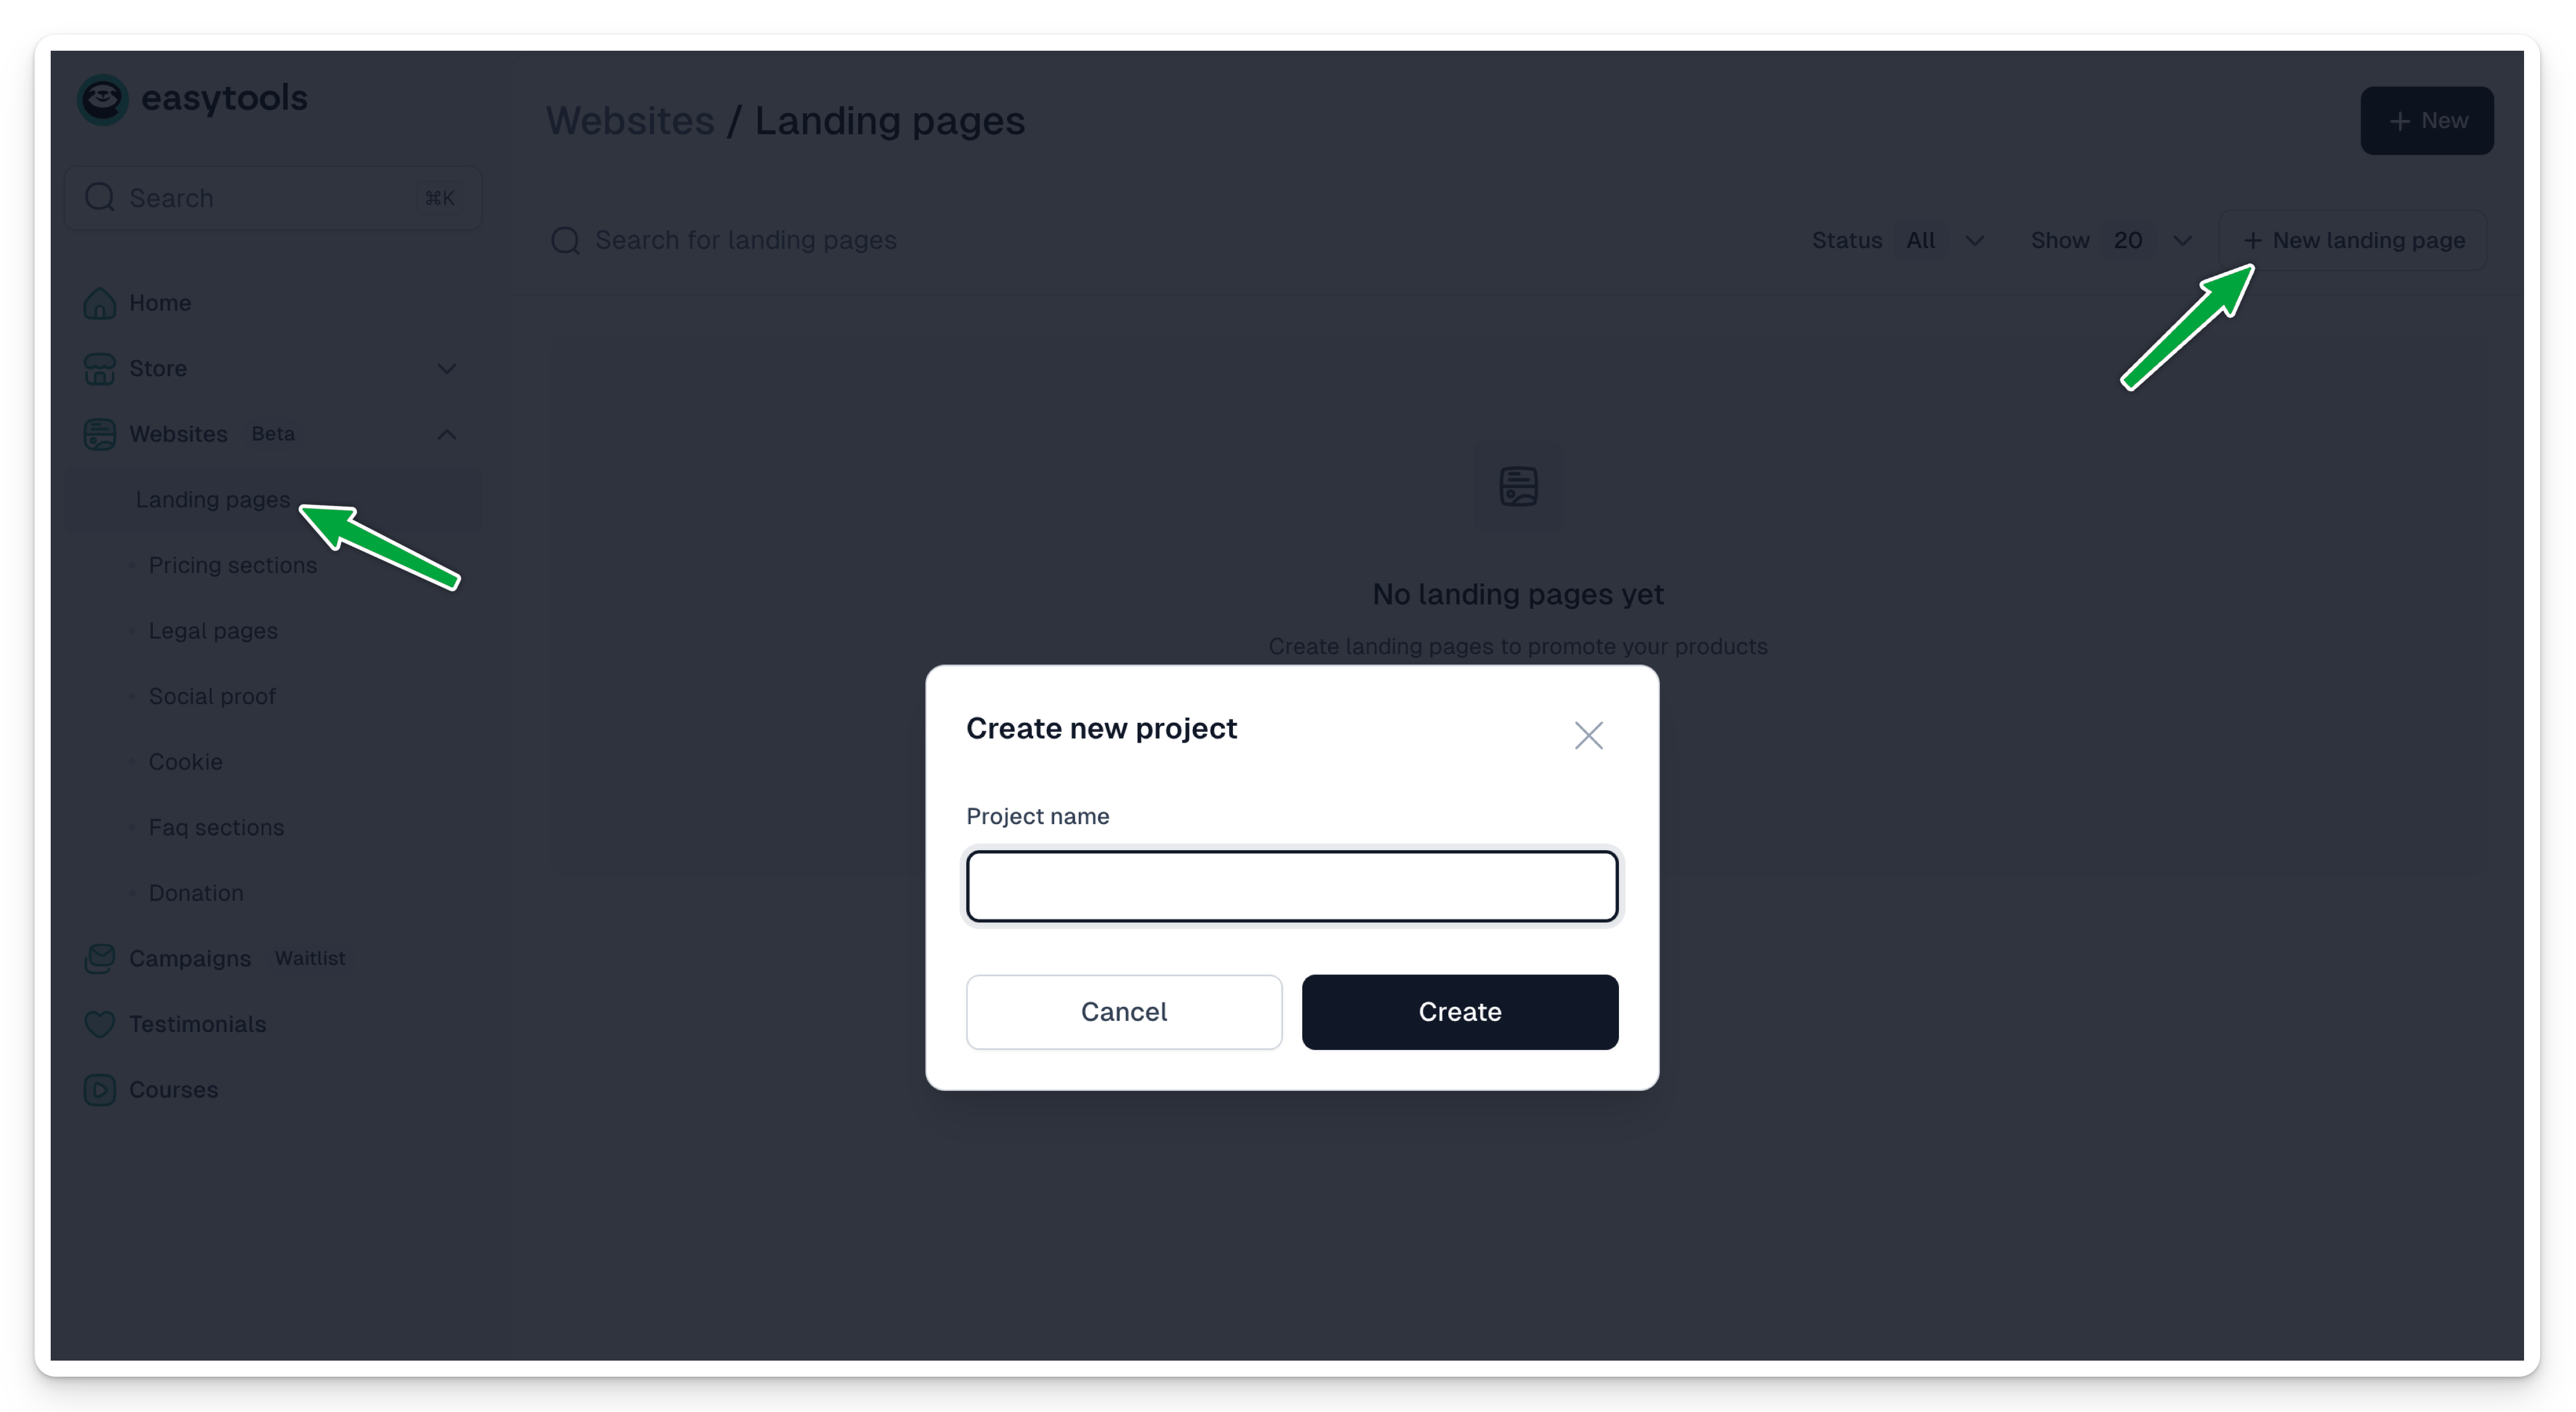
In order to create a project with Easypage, go to Websites → Landing pages, and click New landing page
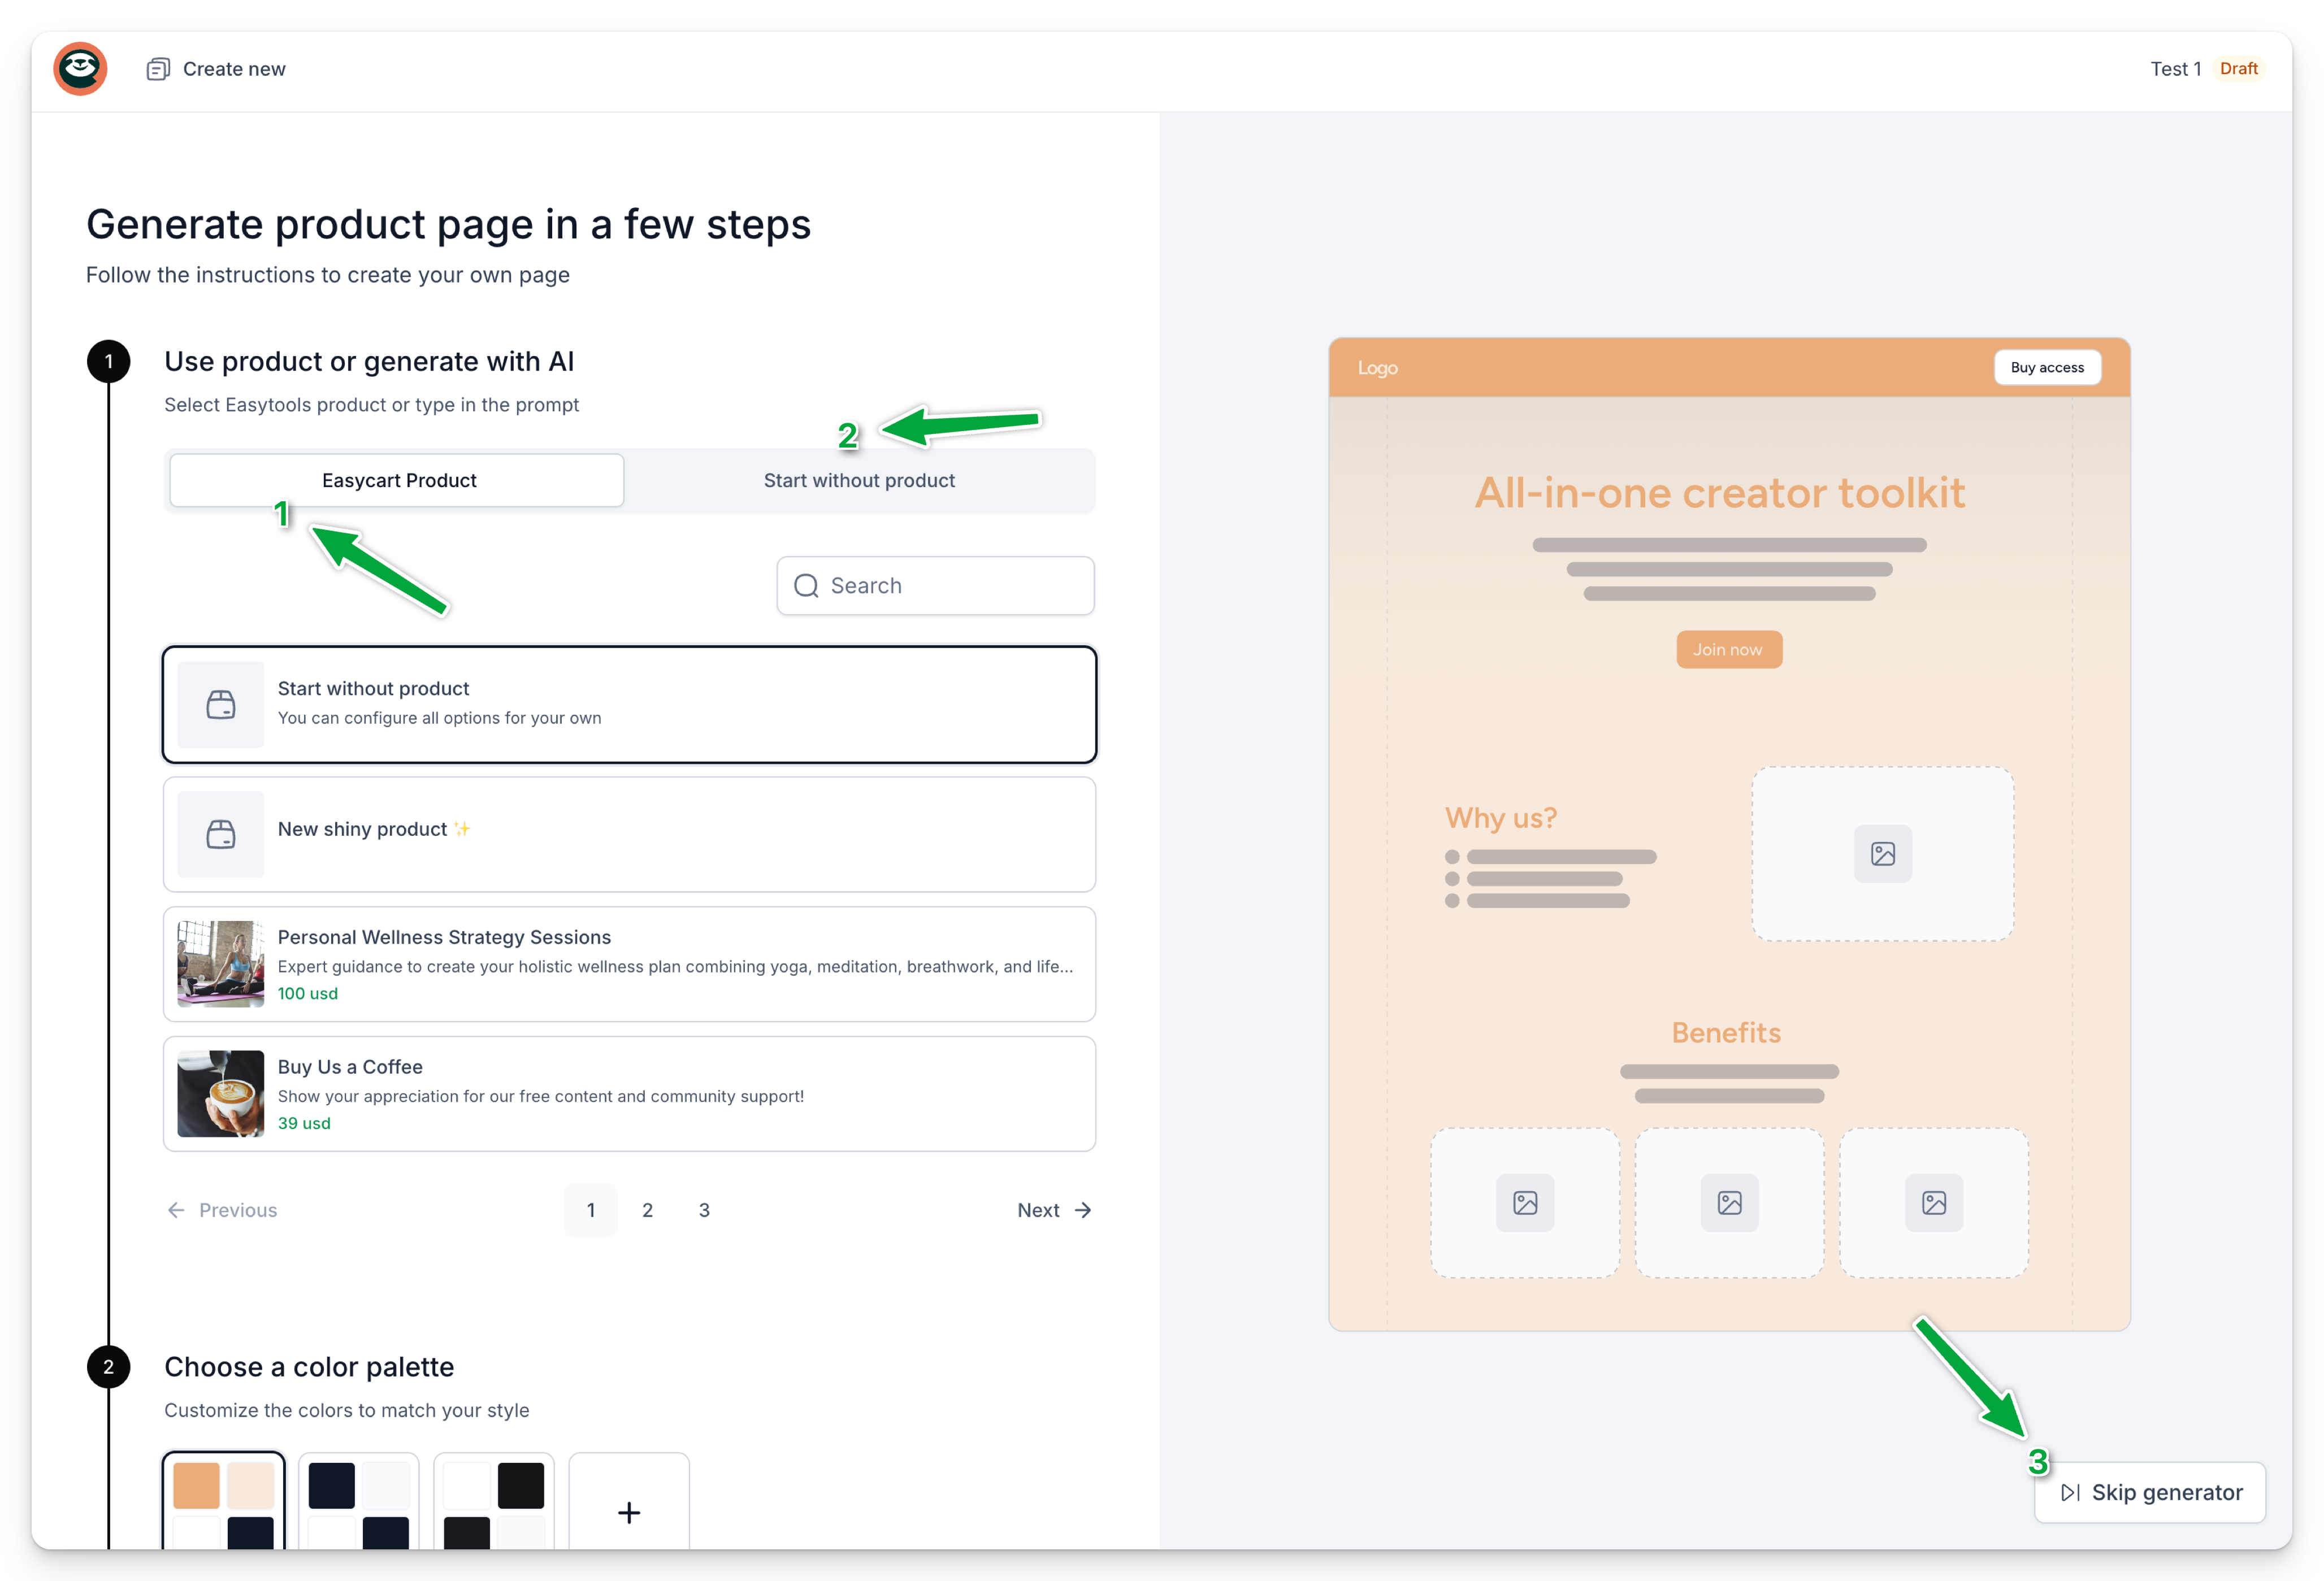
Once project is created, you can continue using either:
- Readymade product from Easycart
- Custom prompt, where you’ll explain what you need on the website.
- Start from scratch, by choosing Skip generator after creating a new project
Learn more how to use Easypage’s Quick AI wizard.
Editing landing page
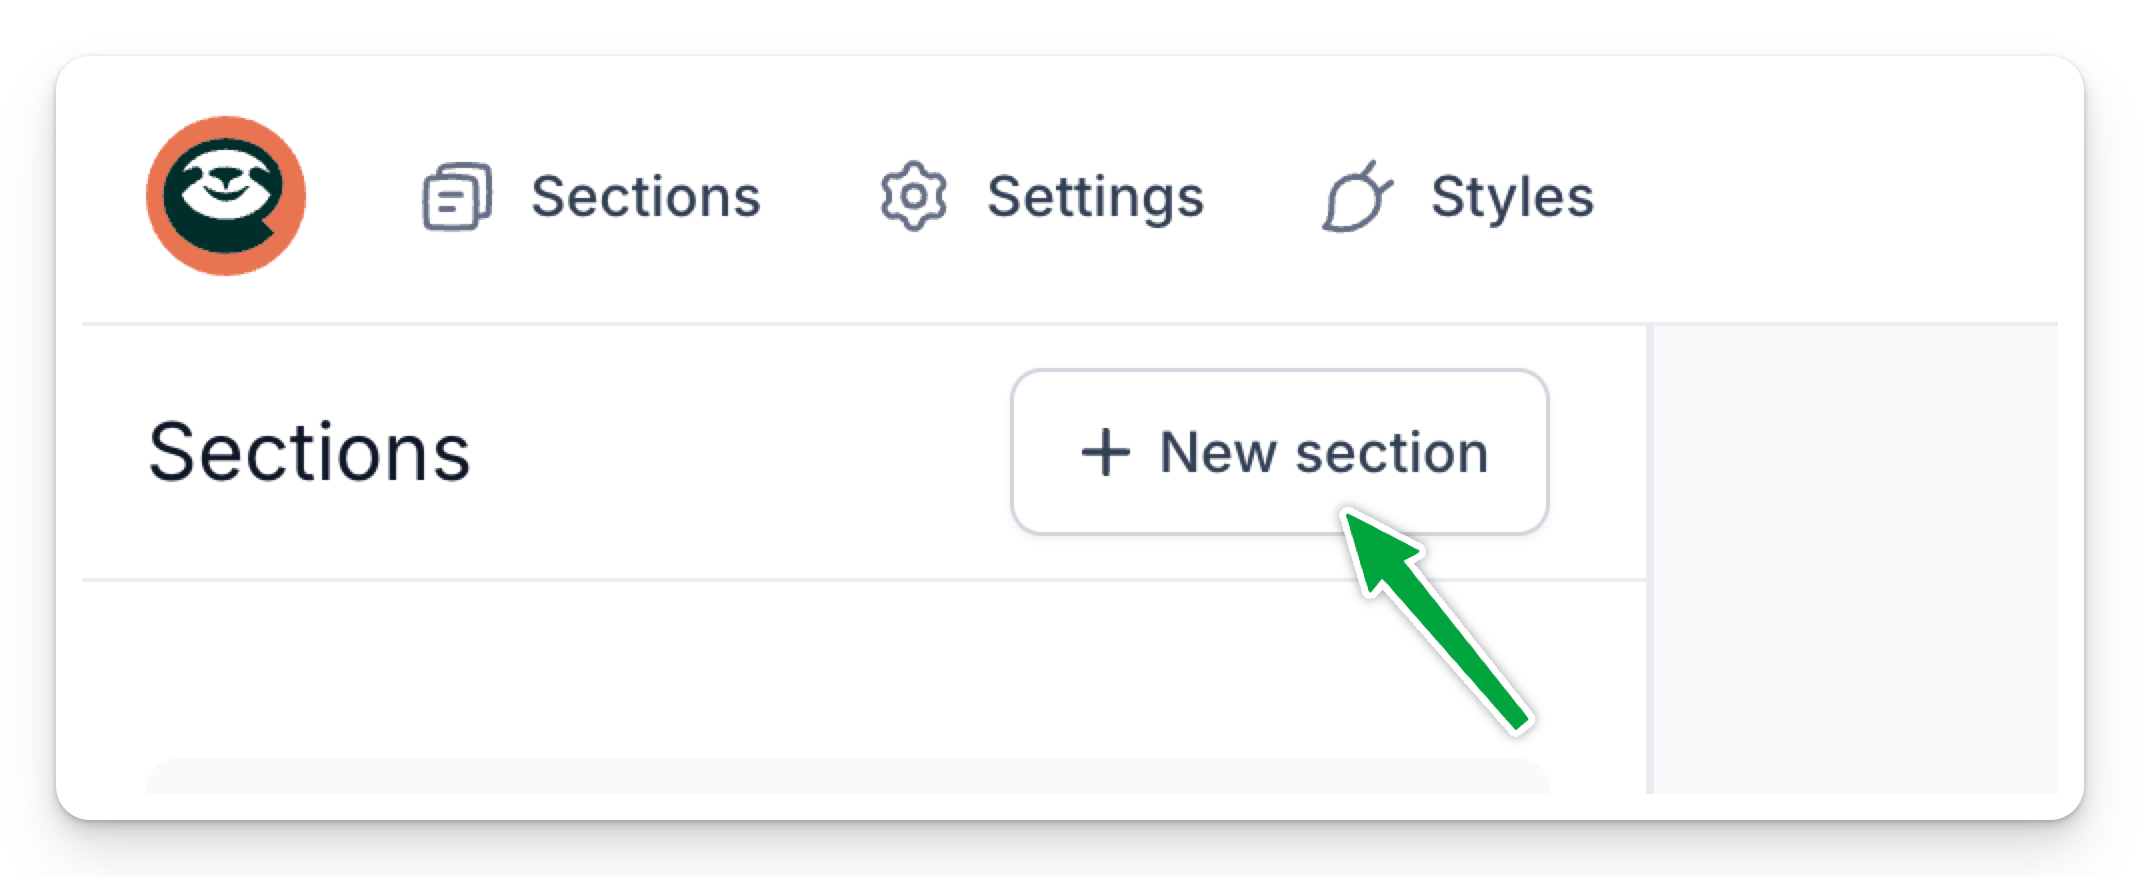
Depending on the option you choose, you’ll get either a blank or pre-filled website with sections. Use the left-hand panel to review or add sections by clicking New section.
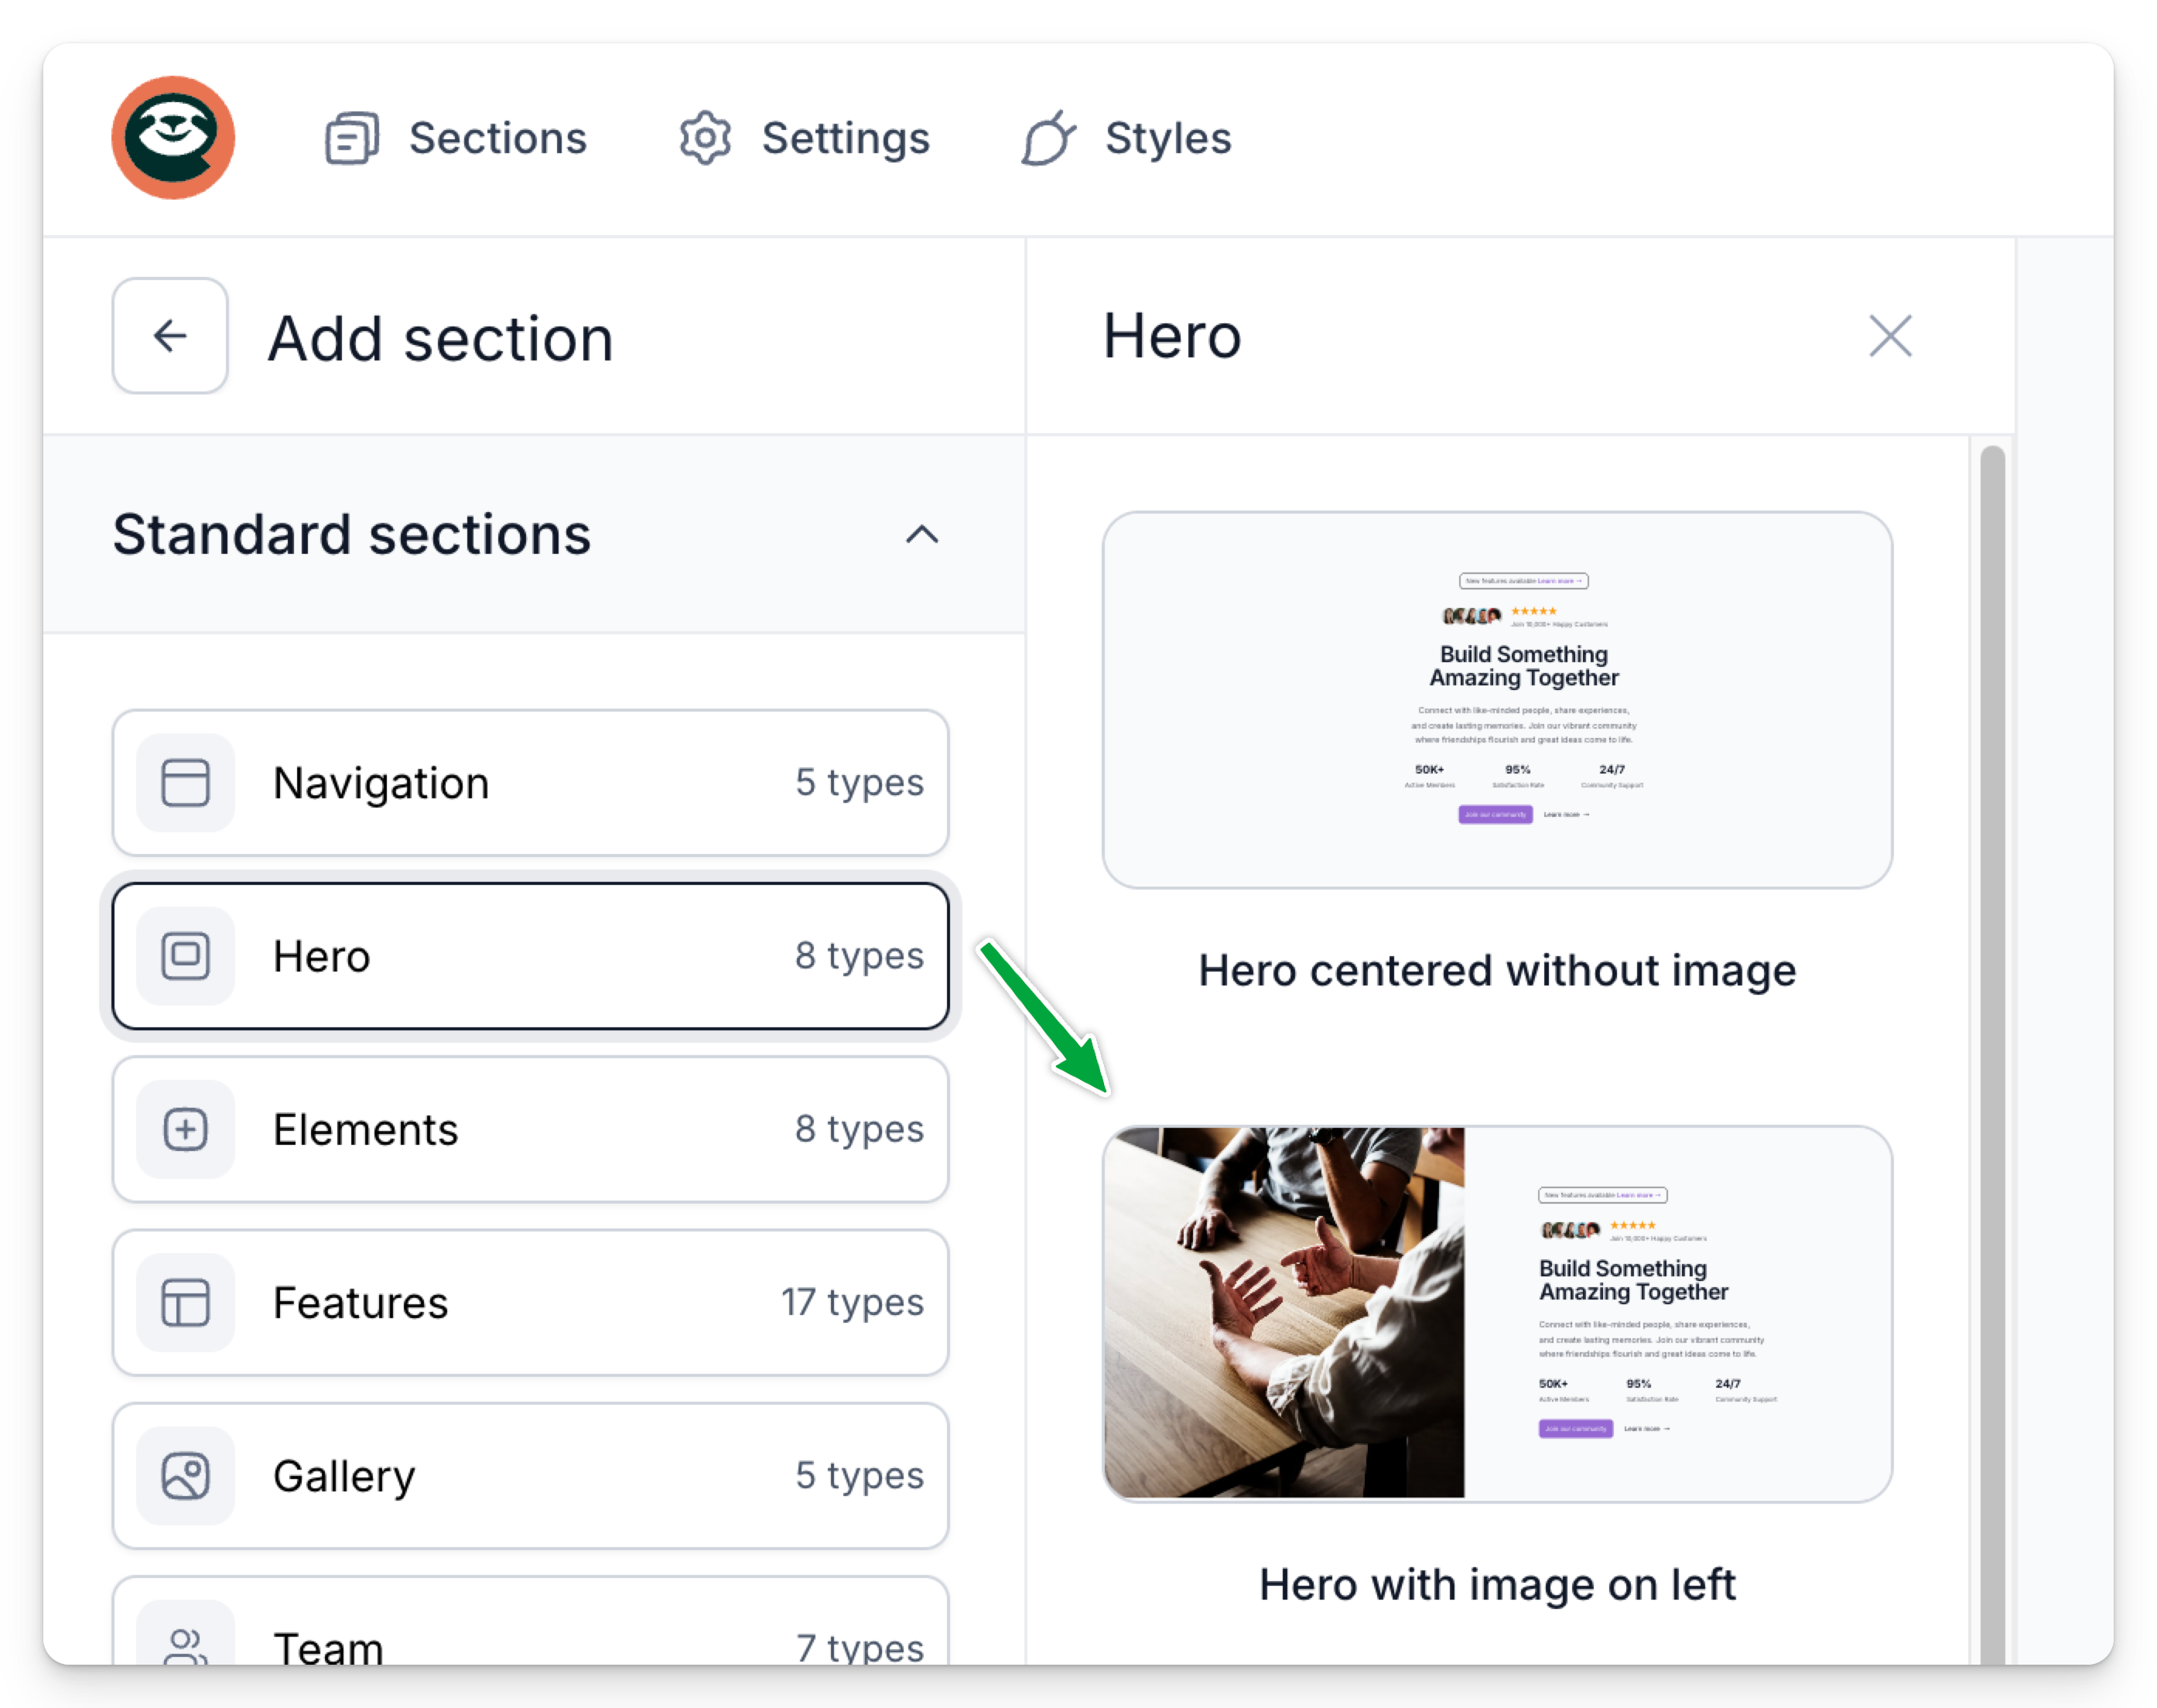
Browse for section you want to use and drag and drop it to the canvas.
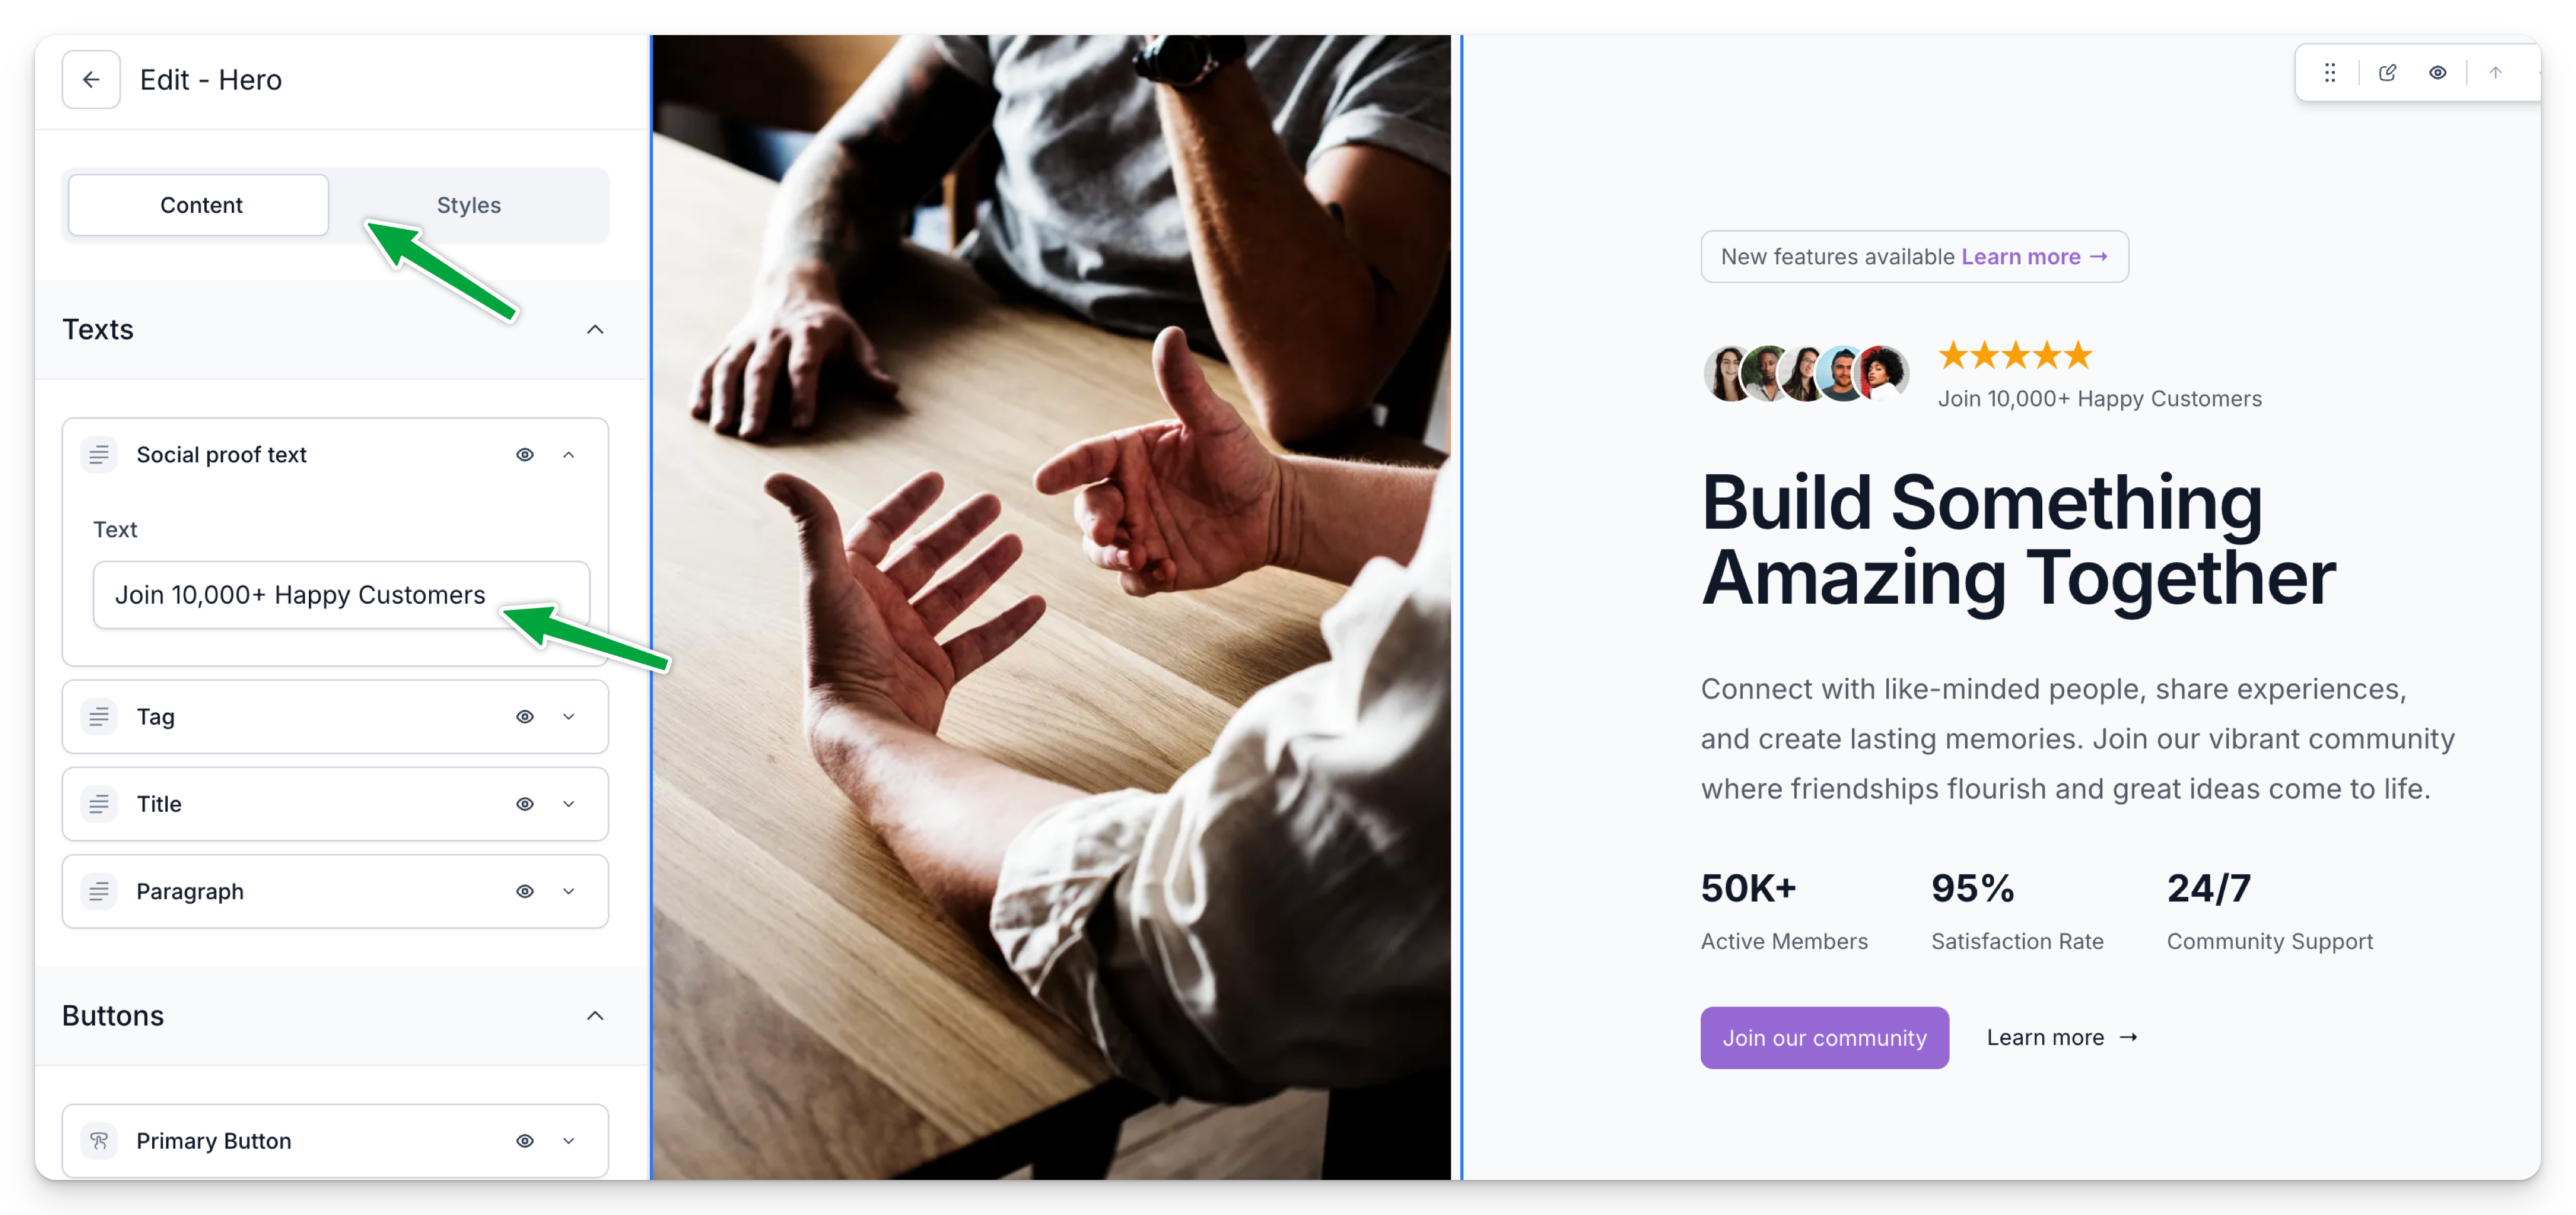
To edit a section, click its content and use the left-hand panel. You can change text (like headers) and tweak basic styles under the Style tab.
You can’t move elements within a section, but you can hide any you don’t need using the eye icon. Use different section layout instead of making advanced changes.
Managing styles
For each component you work with, you can edit or override it’s styles. The basic style settings are in the Styles tab:
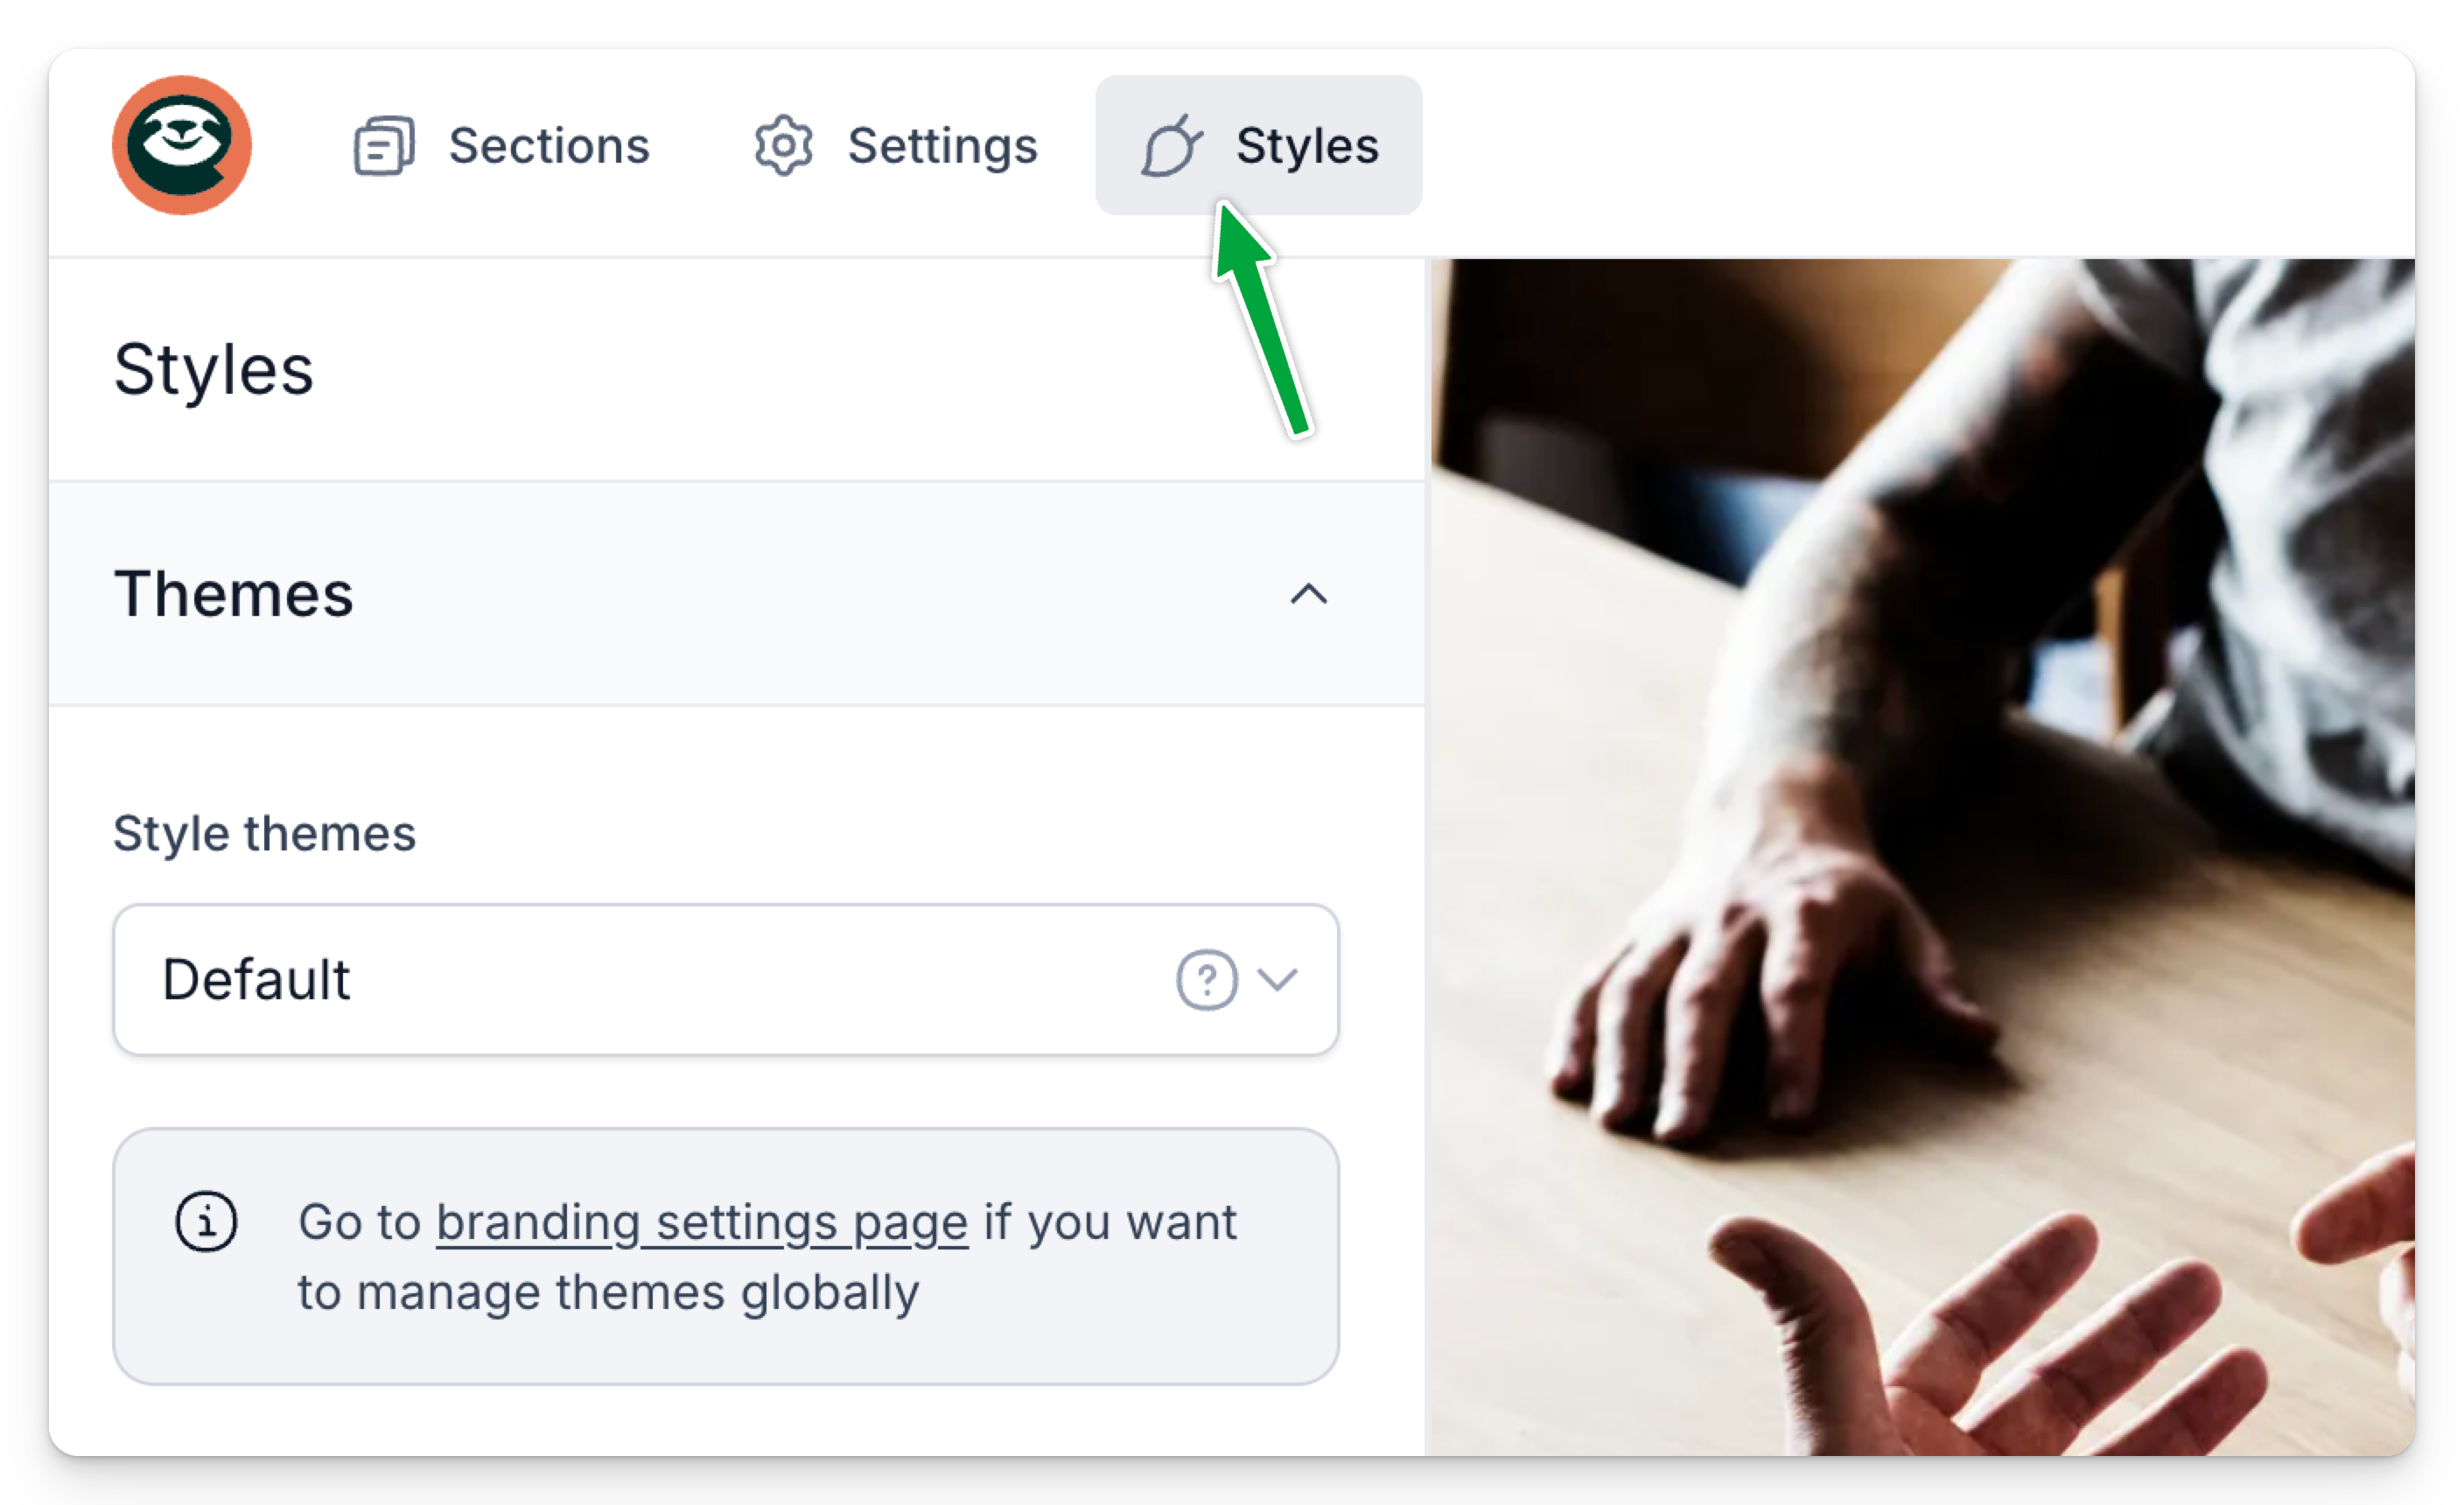
You can use a predefined Brand theme or create your own, including typography, colors, animations, and more. These top-level styles apply across most elements on your site.
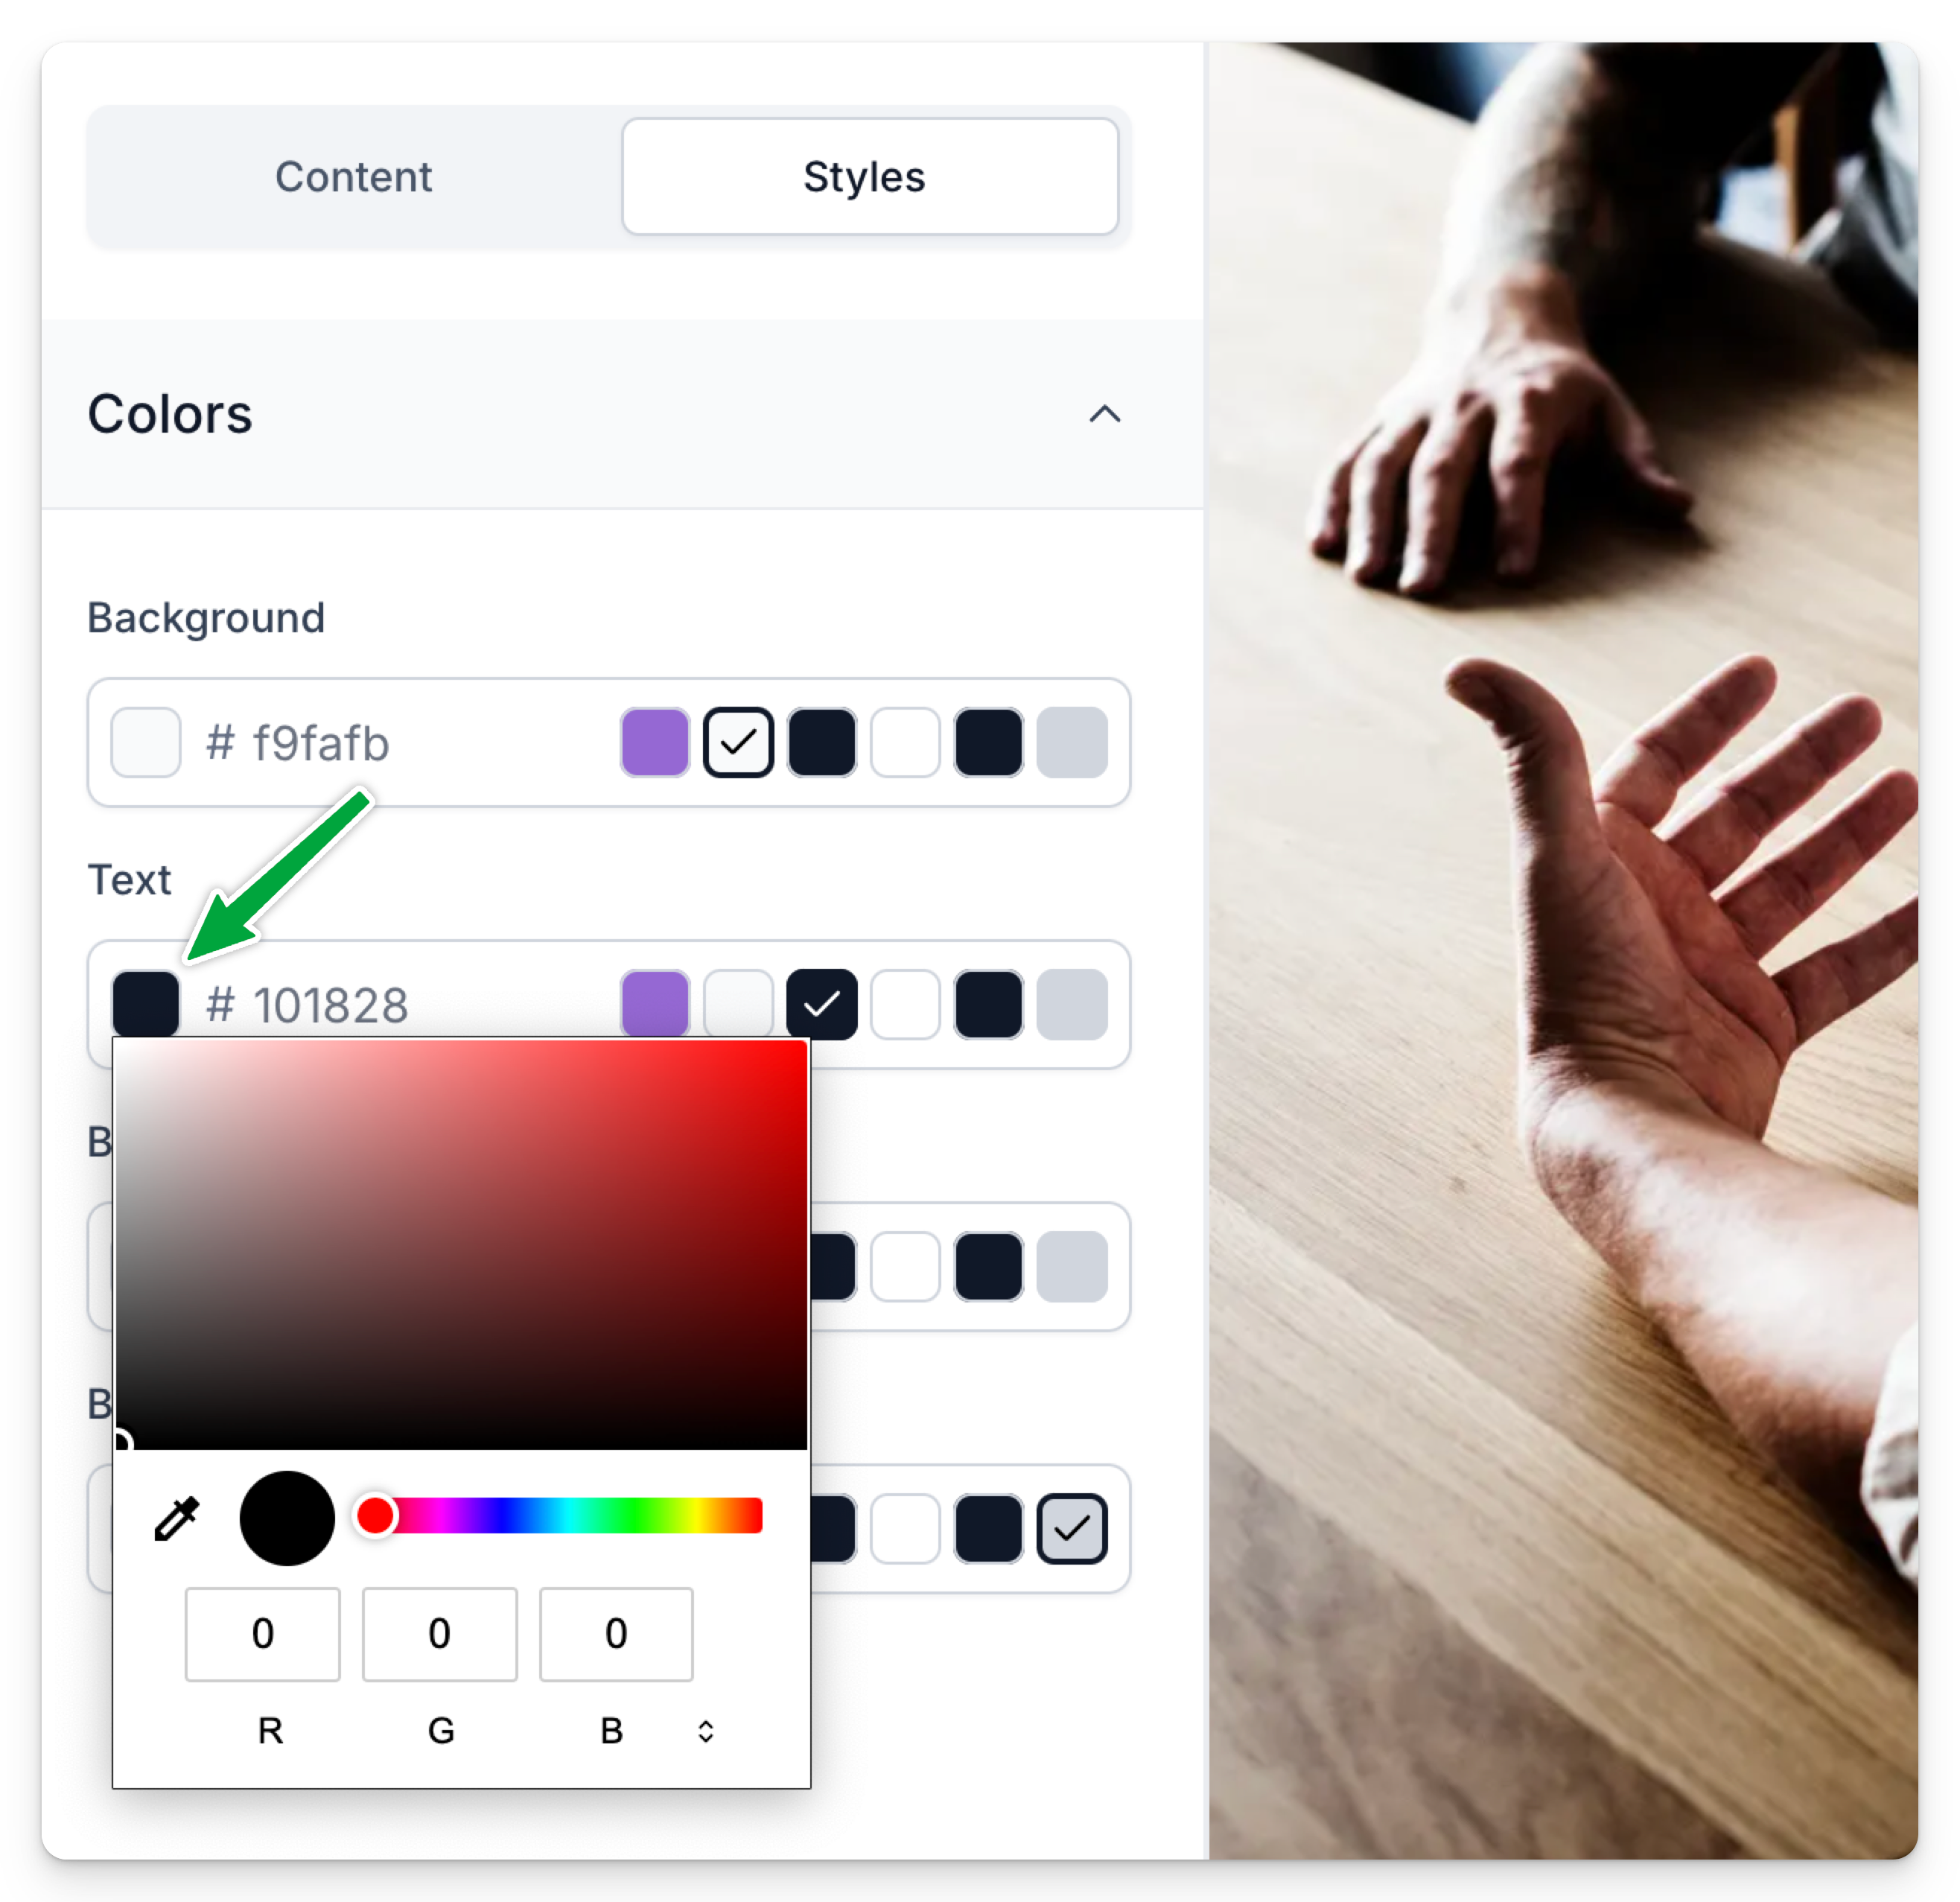
Some styles are local to specific elements and override the main Styles tab settings. Click any element, go to the Style tab in the left panel, and tweak as needed. Pick from the color palette or use the color picker for custom colors.
Using apps
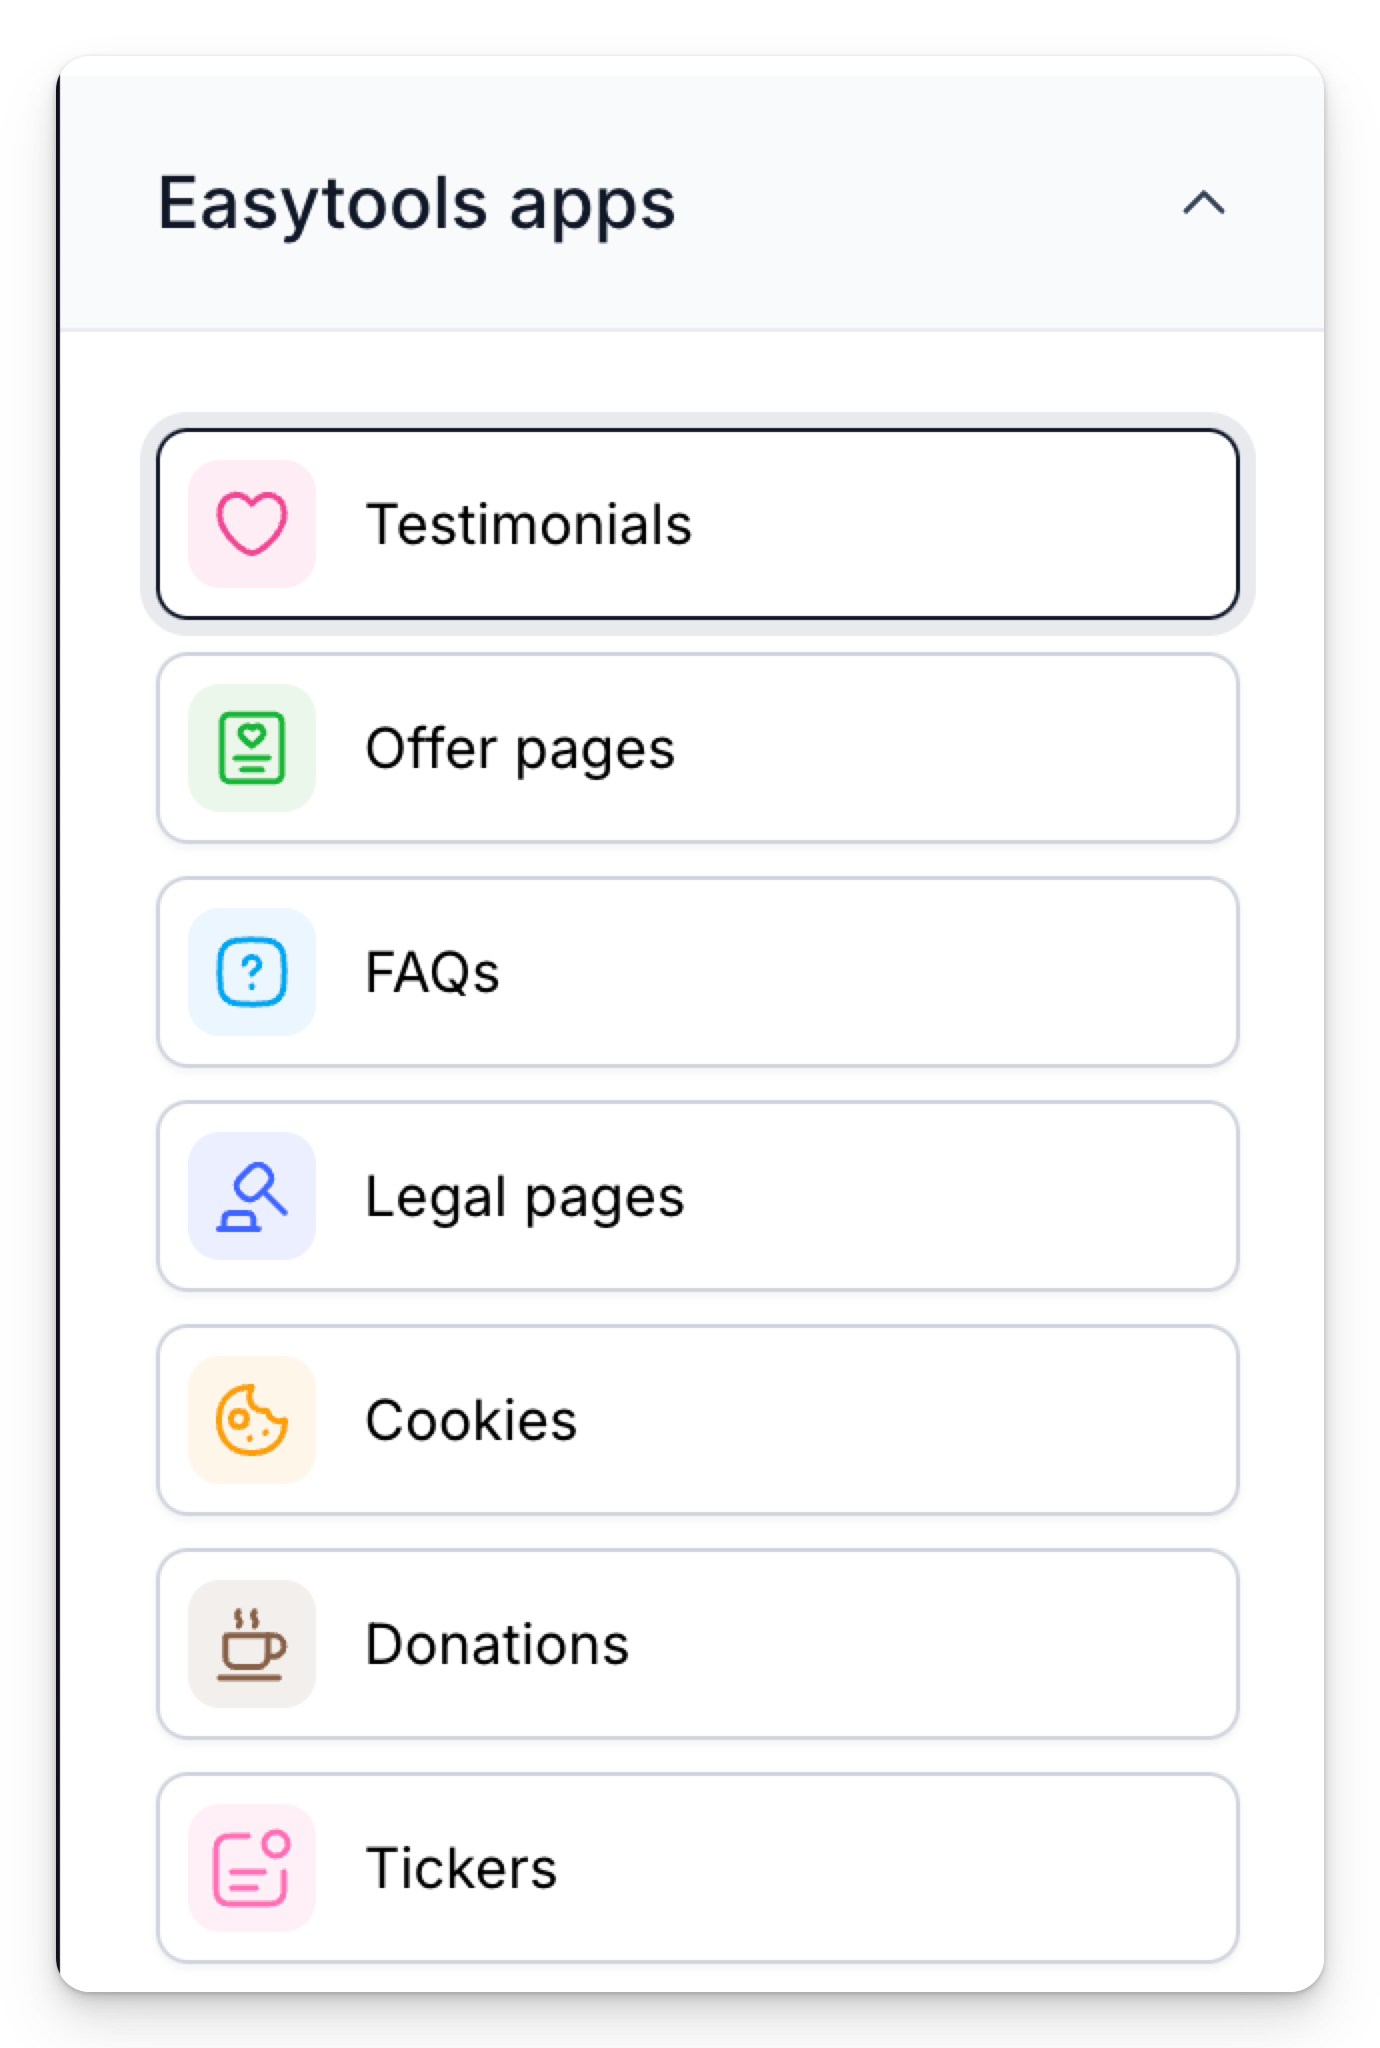
In addition to predefined sections, you can use apps—dynamic sections often linked to your product or other Easytools apps. They let you add things like testimonials, pricing, or cookie modals. Just select the app in the sidebar and add existing or create new project:
Previewing landing page
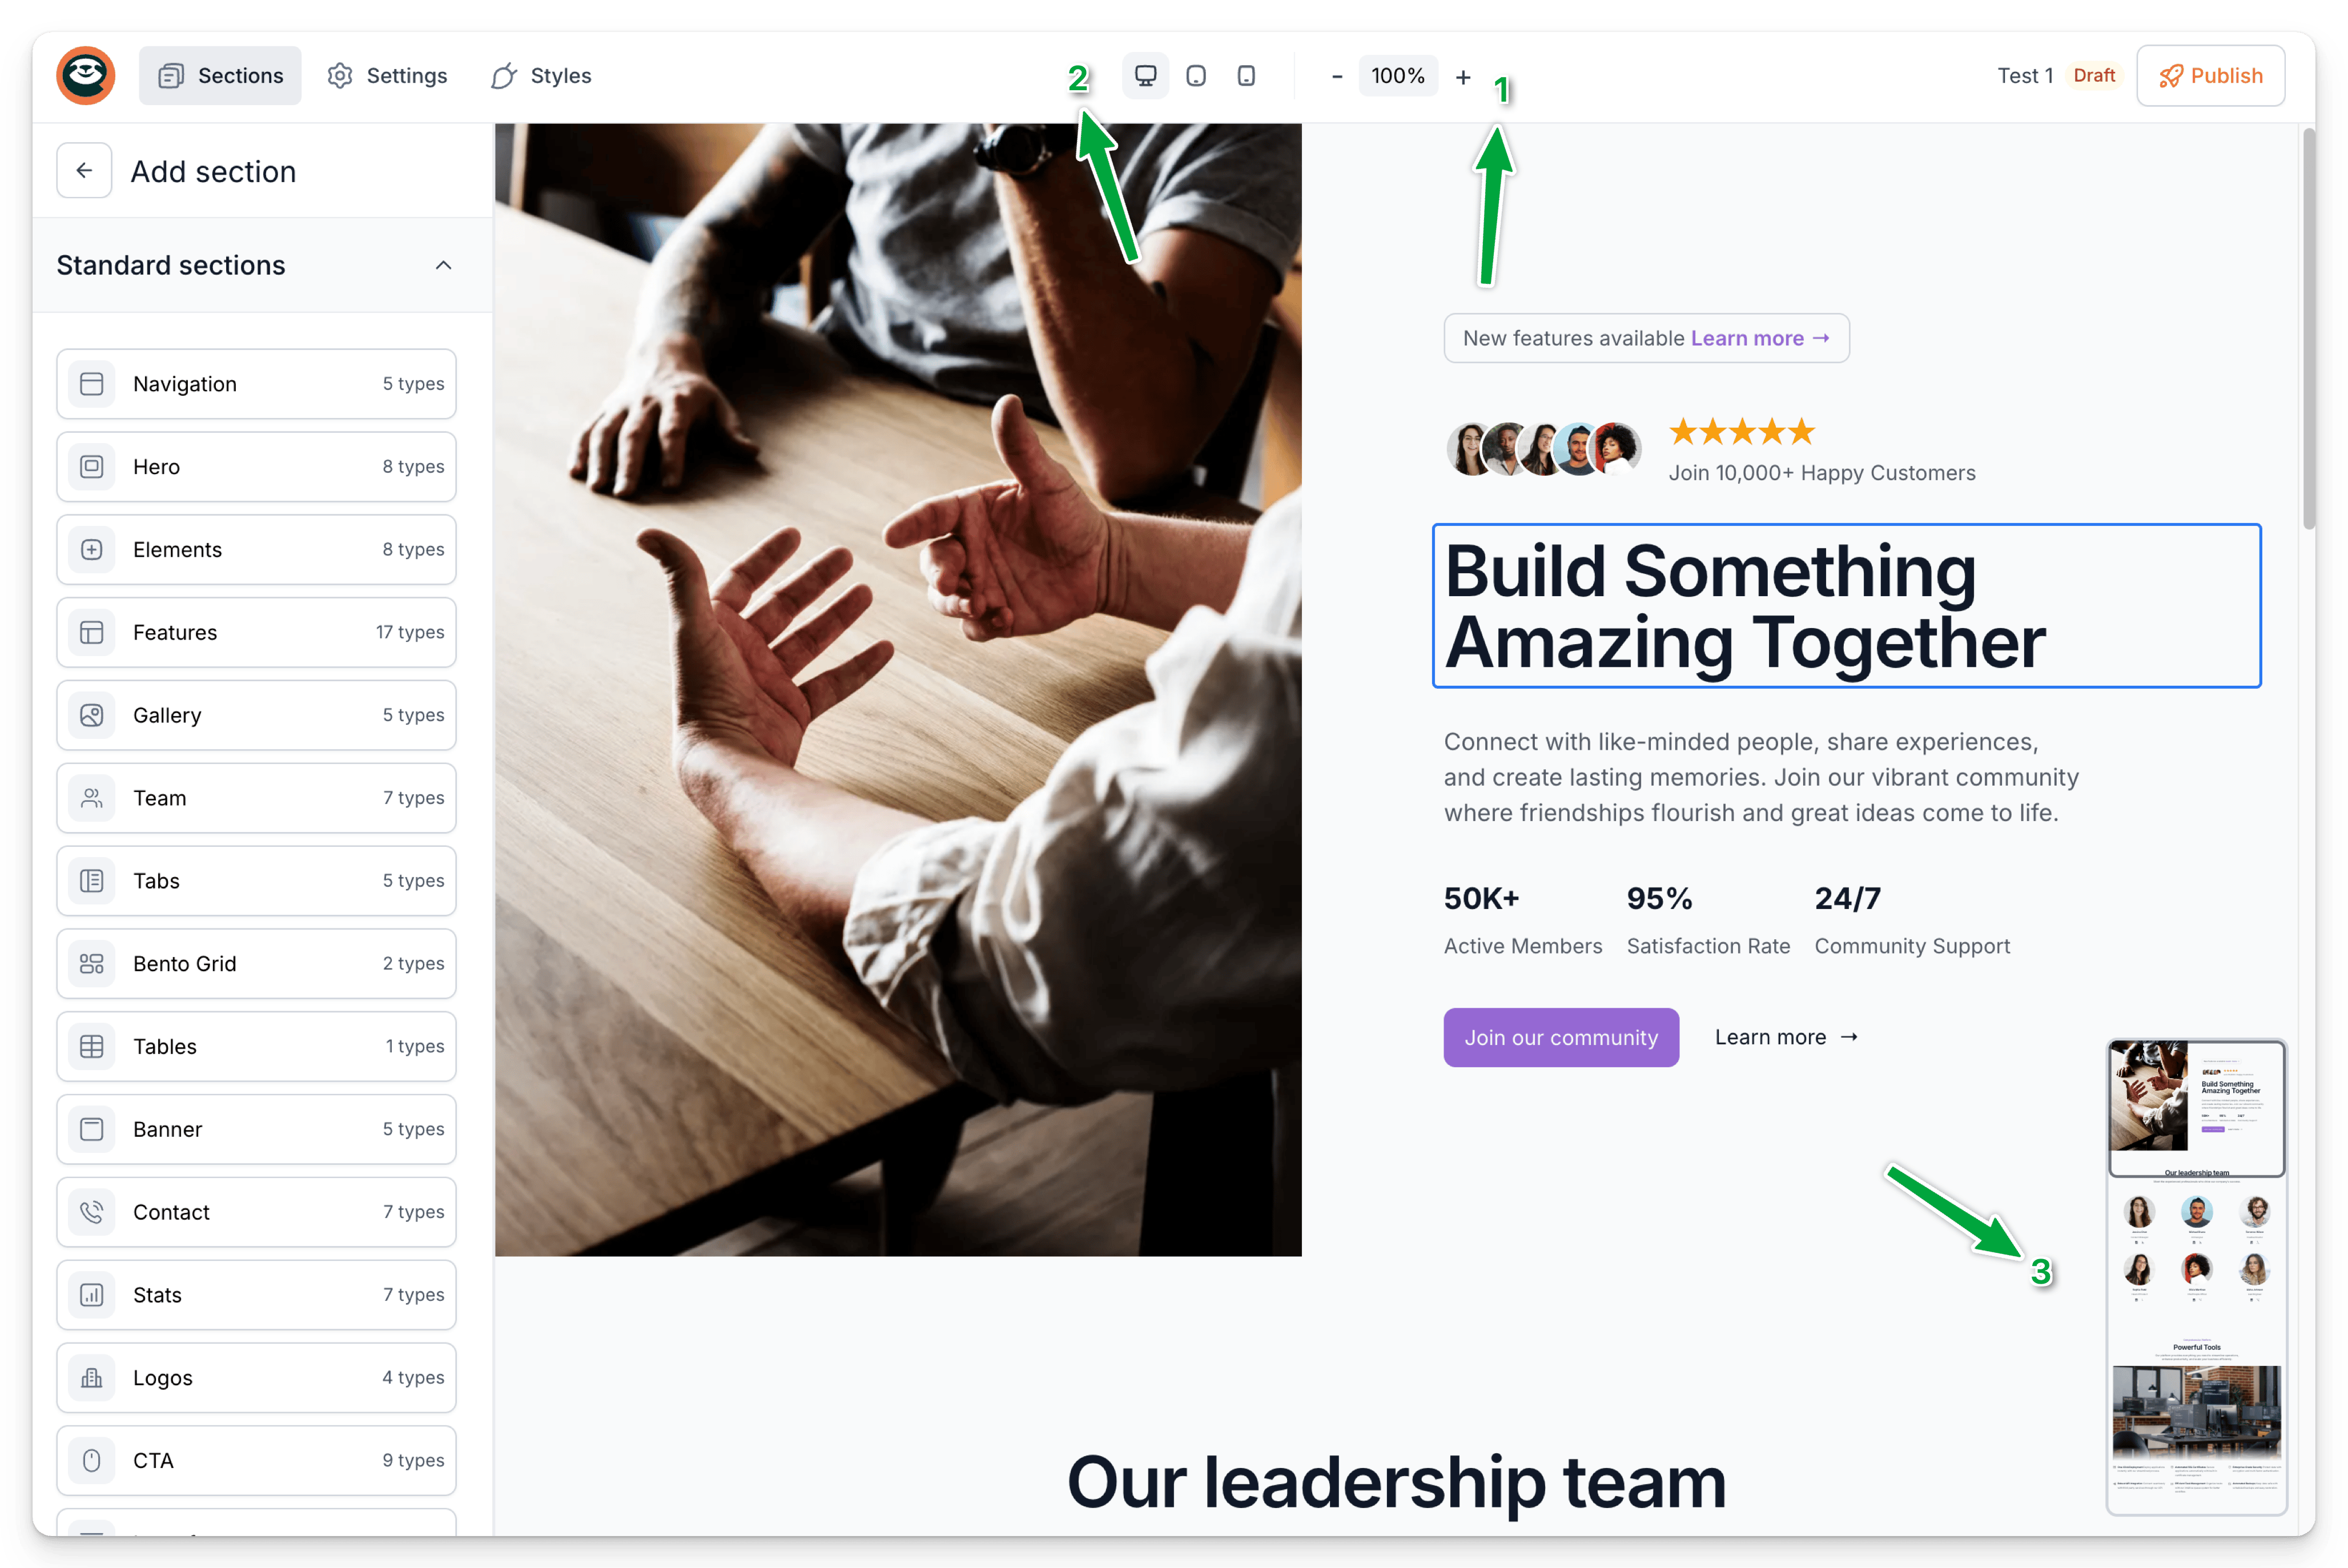
You can manage the preview with simple controls:
- Zoom levels will let you adjust the preview size
- Device buttons allow for previewing on mobile resolutions
- Mini-map allows for quick browsing by dragging or clicking
To see your live website, click Publish in the top-right corner. Your site goes live on our subdomain, ready to preview and share—we’ll host it for you.
Adding custom domain
To add a custom domain, go to Settings and select Add new custom domain. Enter your domain name, then confirm.
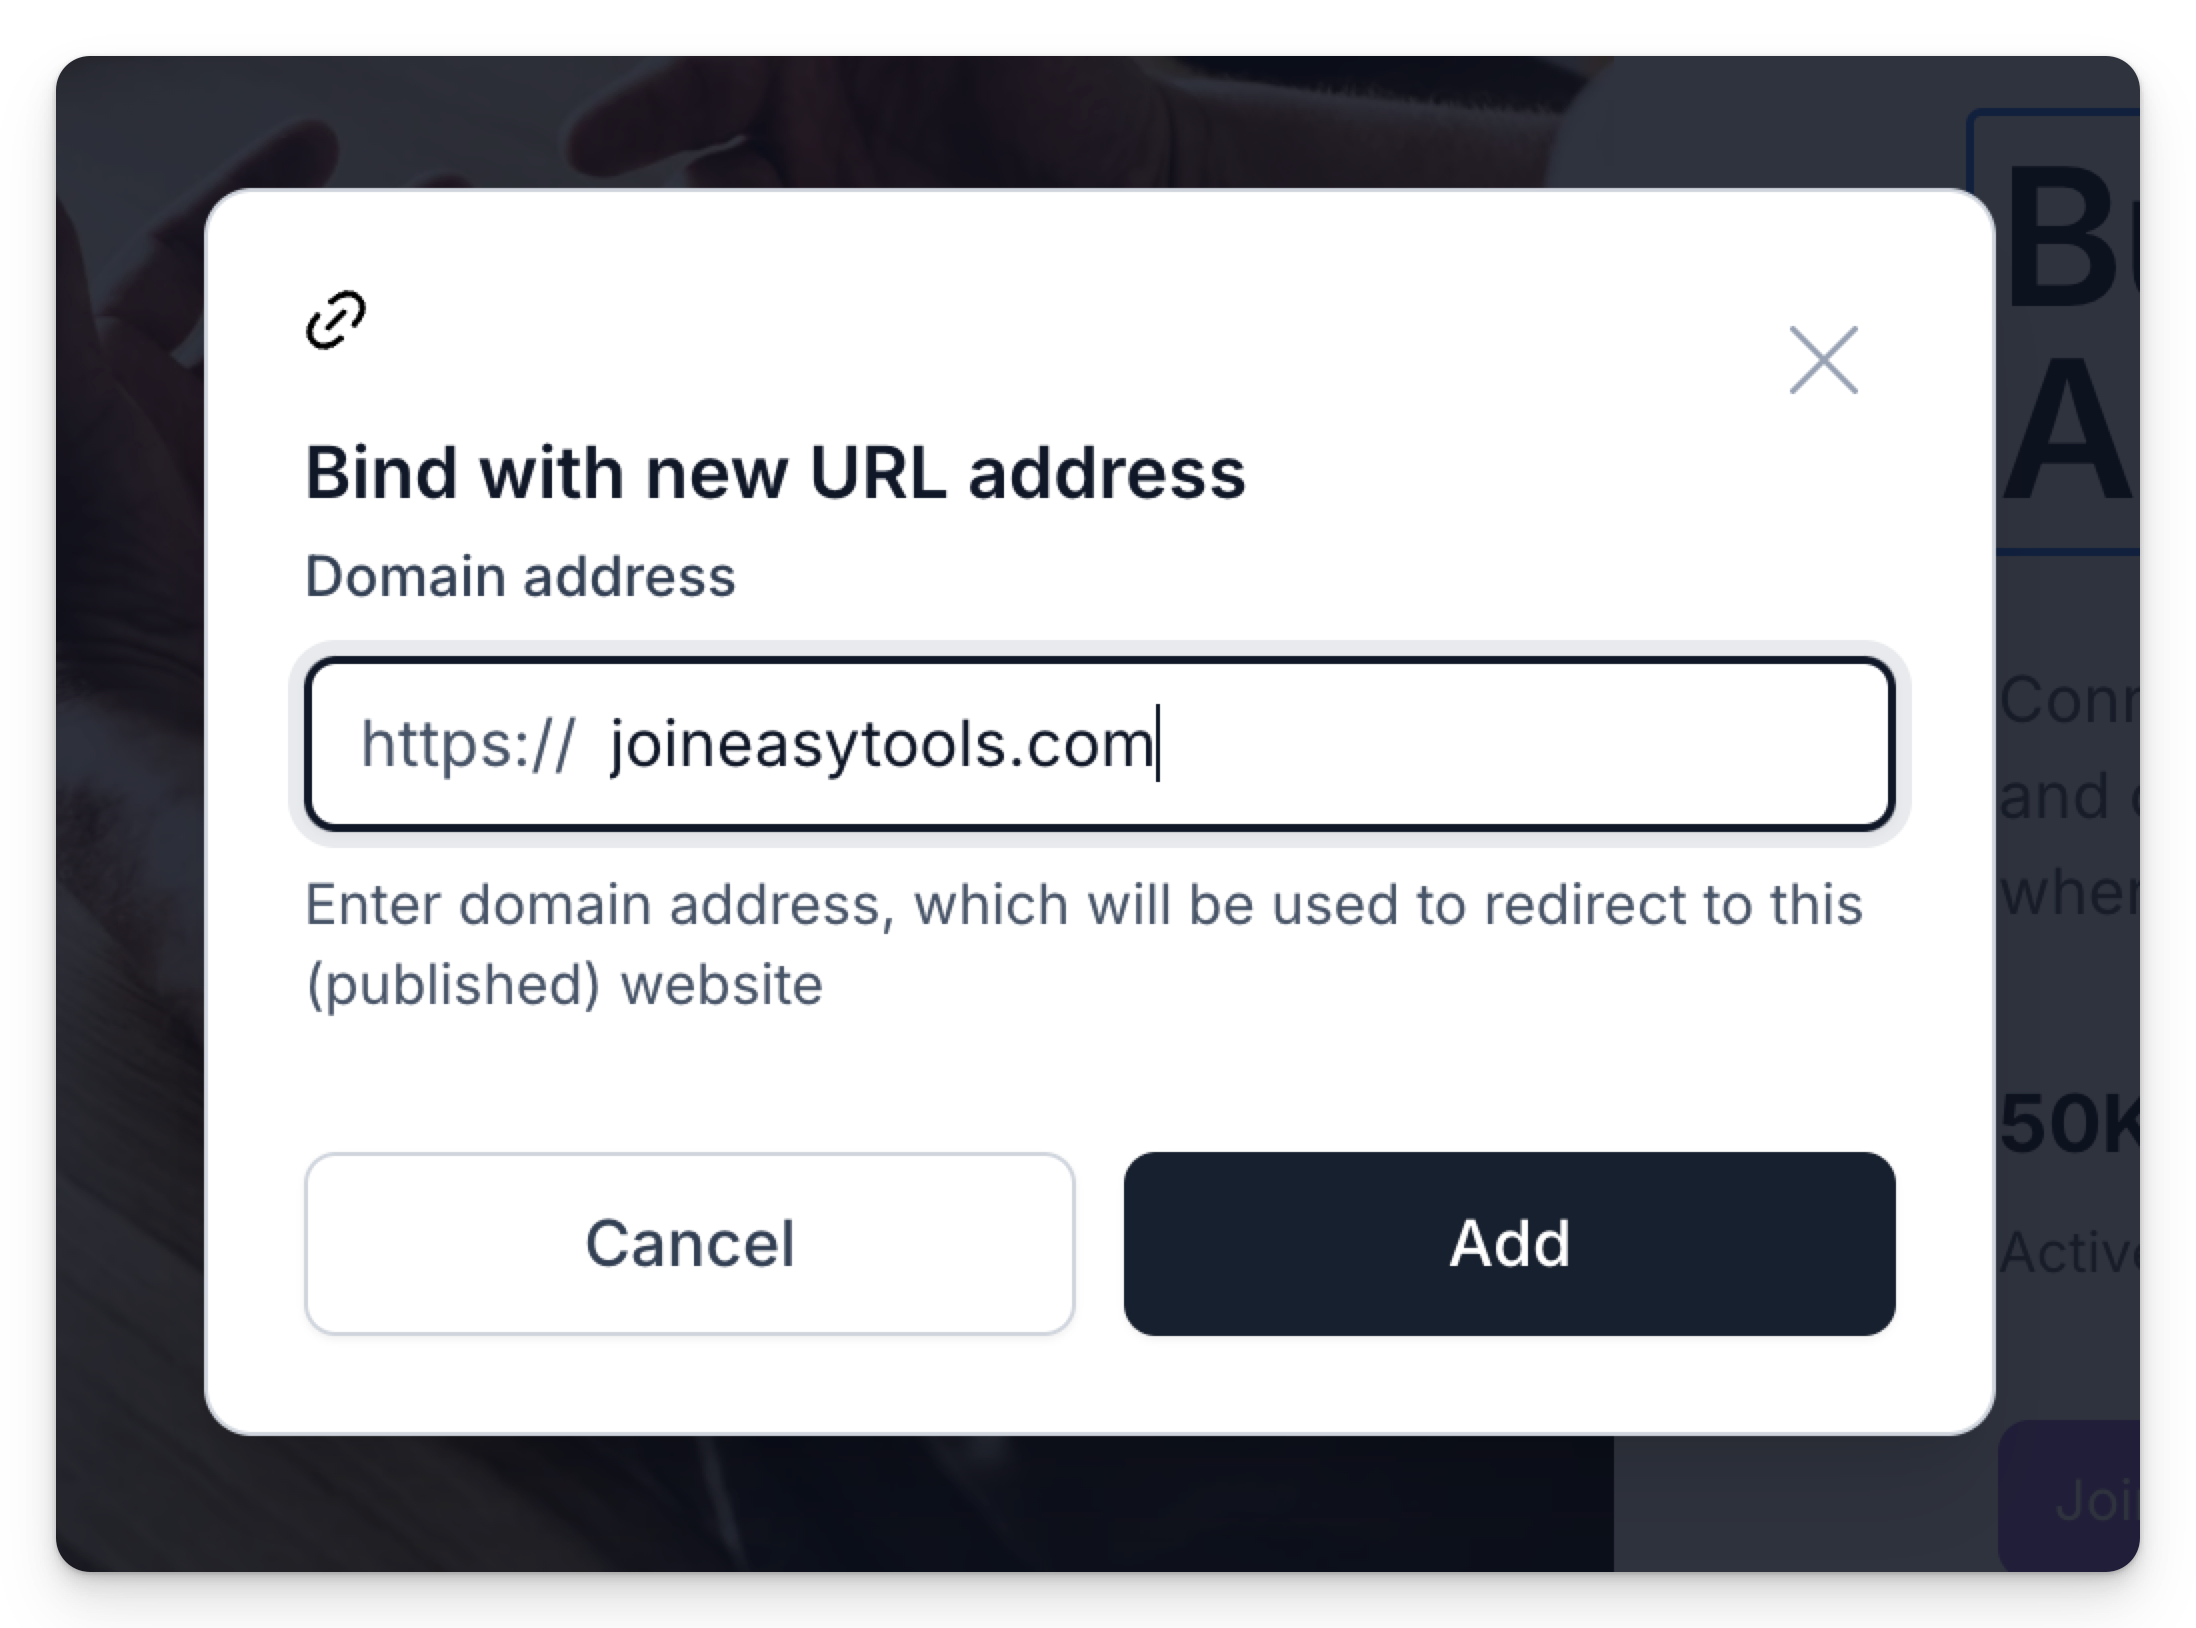
After that, you’ll need to update your DNS settings. Log in to your domain provider and set your domain’s A record to 207.154.213.138.
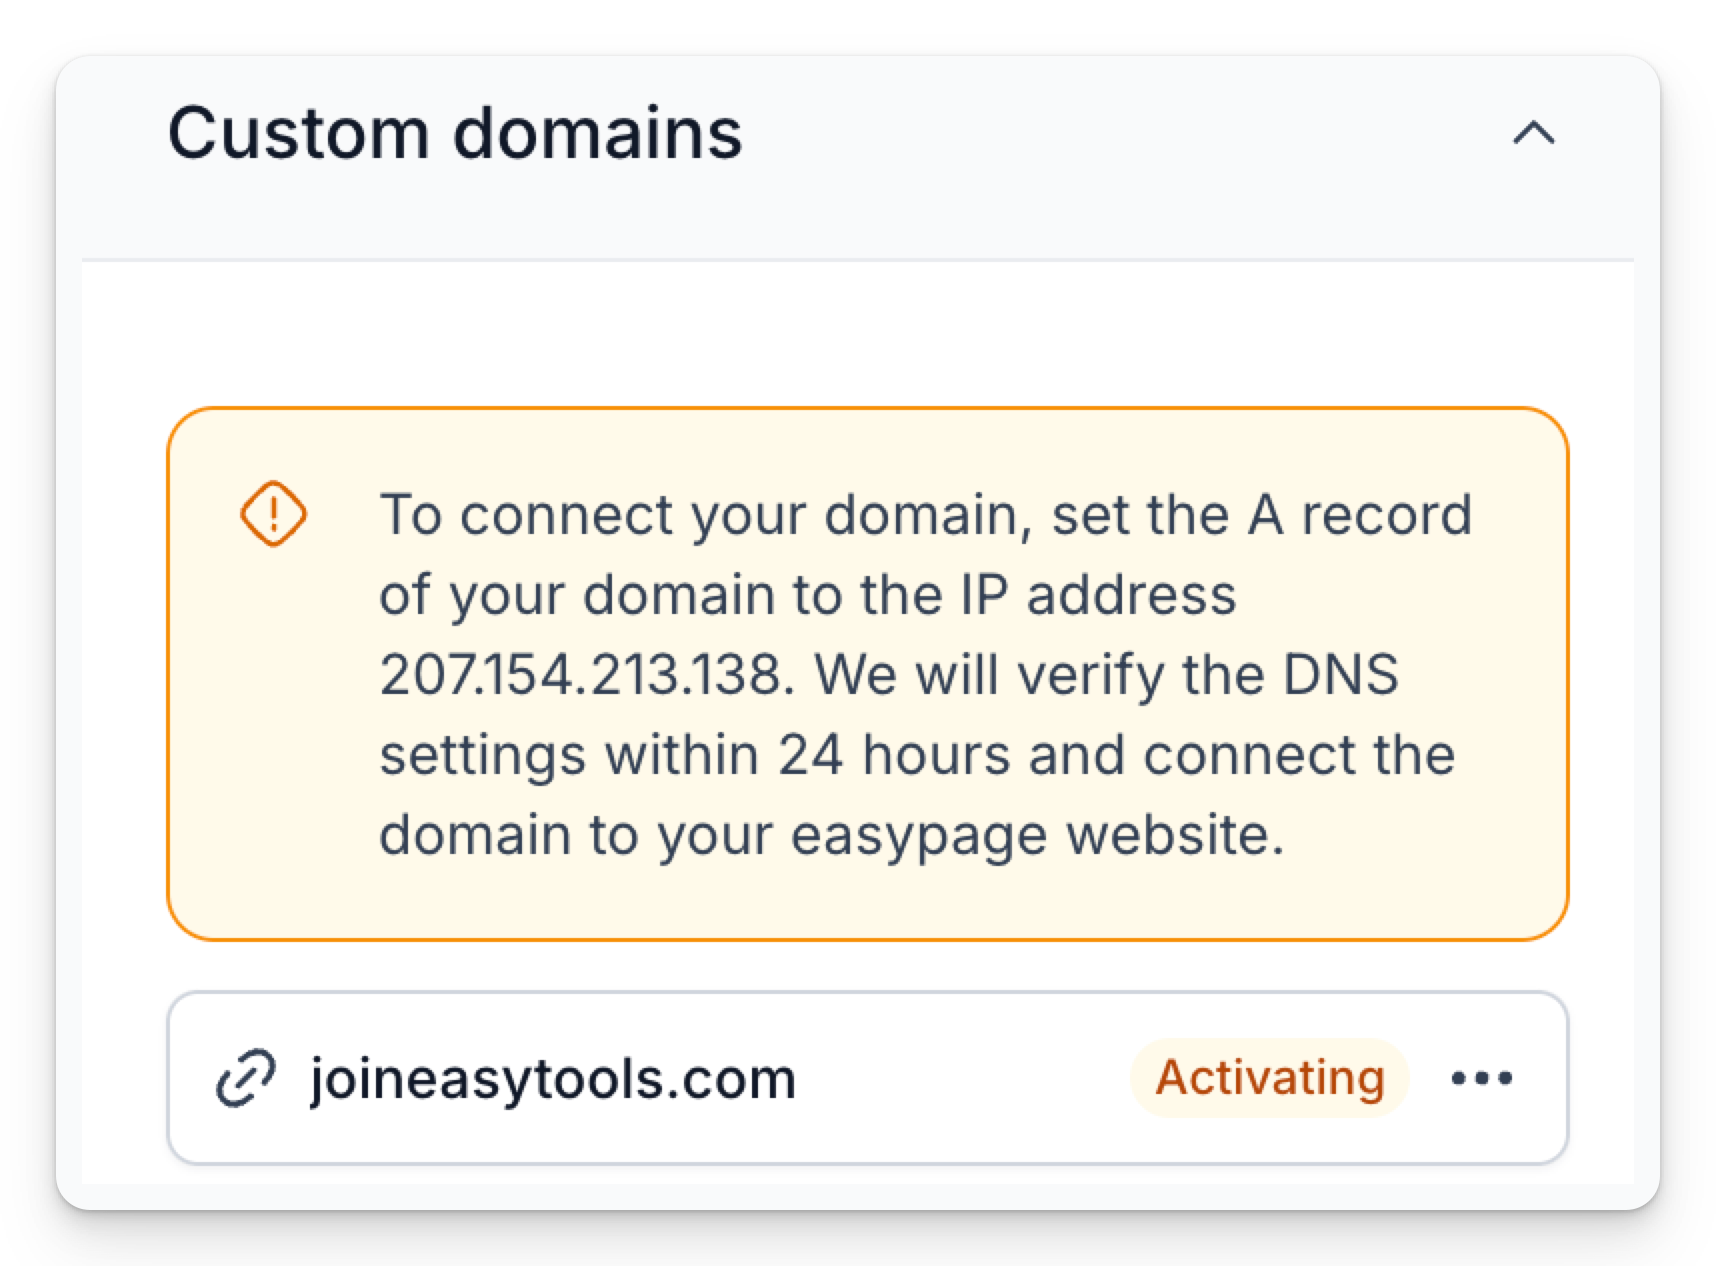
After a bit, the Activating status will change to Active. Then, just click Publish again to preview your site on your custom domain. Simple as that.
Other settings
For now, the Settings tab includes basics like favicon, OG image for social sharing, and basic SEO (title and description). More settings coming soon!
Working with Easypage
We’ve created a step-by-step, practical workflow showcasing a creation of a complete landing page with Easypage. Take a look at how Easypage can help you migrate existing landing page or create a new one from scratch: